
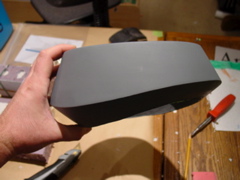
Build a Endor Donut
|
Make
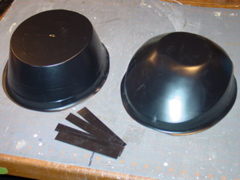
sure you have all the parts. You should have:
|
Tools you will need:
|
Next, you need
to do some sanding, and trimming to get all the edges looking neat
and clean.
Trimming, fitting, and assembly.
|
|
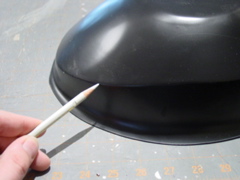 |
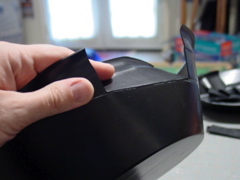
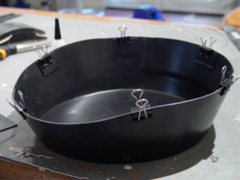
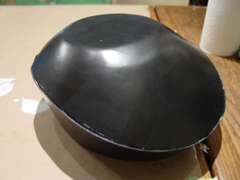
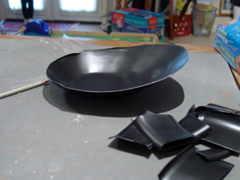
Here are the main parts of the kit. Pictured are the flat material we will be using to mate the parts together. Note, the ears are not part of this donut build. |
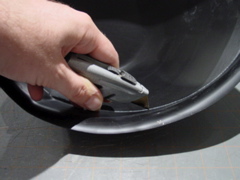
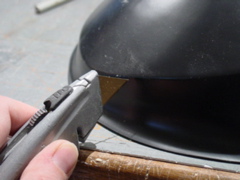
Note this line on the bottom half. Trim here with the knife. |
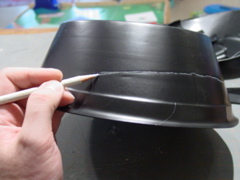
Trim here down and make some relief cuts. |
|
|
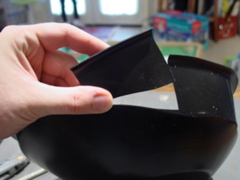 |
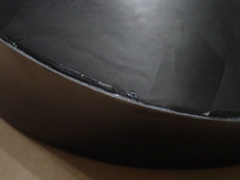
Score along the inside. You do not have to cut all the way through. Score it ... |
...And make some relief cuts. Then flex and bend... |
And these parts should snap off. |
|
 |
 |
| This is the bottom section, ready to assemble. Set it aside for now. | Now, trim the top section along the line indicated. | Score, with a knife... |
 |
 |
 |
| Make some relief cuts... | Bend and snap. | Trim any excess off. |
 |
 |
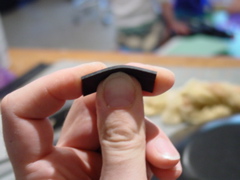 |
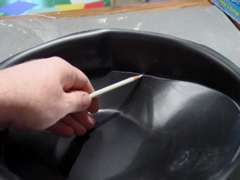
| Sand this edge smooth. | Next, using a ruler, measure 1/16 inch and make a line. This will be where the tabs will go that will support the bottom section. IF you make this line too deep from the edge, there will be some overhang. | Cut the strips into 1.5 inch sections. Bend them as shown. |
 |
 |
 |
| Using some CA or 'super' glue... | Attach these support tabs to the top portion of the donut, so that the top of the tab aligns with the line you drew. | Repeat this until you have at least 8 tabs equally spaced. The more tabs the better support. |
 |
 |
 |
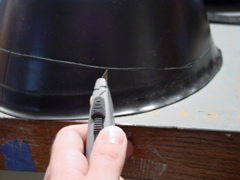
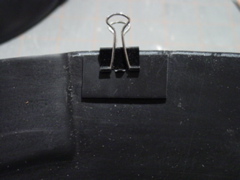
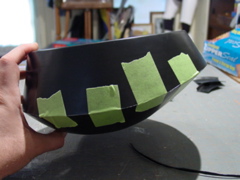
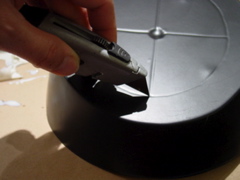
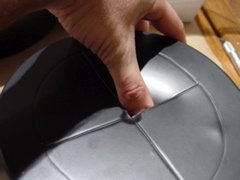
| You can test fil the parts once the glue had dried using some masking tape. | To make assembly easier, trim the crown along the indicated cut lines. | Score the lines, and then press through using your knife. |
 |
 |
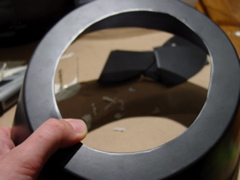 |
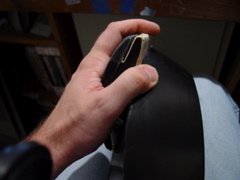
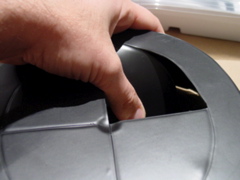
| You should now be able to press yout thumb through... | And remove these parts. | You now have a donut ring top! |
 |
 |
 |
When preparing to glue the top and bottom together, expect some alignment issues. Use the recessed sections as an alignment guide. |
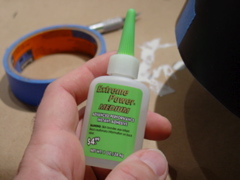
Tape and dry fit the top and bottom together before gluing. Start from the alignment sections, tape, then work your way around. Be sure you are happy with the alignment. | Here is the glue I use. |
 |
 |
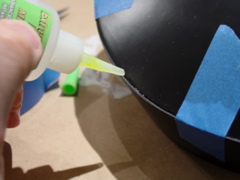
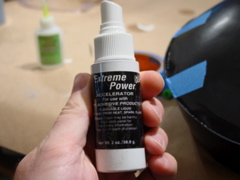 |
| Apply some around the outside edges in between the tape. | Press and hold or use some accellerator. | Here is the CA accellerator I use. |
 |
 |
 |
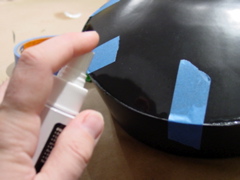
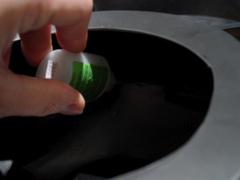
| Spritz some on and the CA glue sets instantly! | Add some CA glue along the seam on the inside. Let the glue dry. | Remove the tape. And finish with some glue where the tape was. |
 |
 |
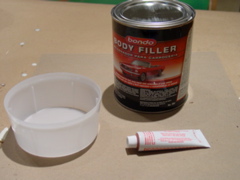 |
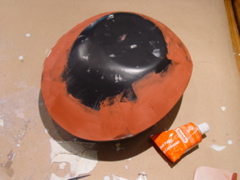
| When done let it dry. If you did it right, there should not be much seam work to have to patch. | Add some tape on the inside seam. This is for support only and will be removed later. | Next, add some Bondo brand, body filler to help hide the seam. |
 |
 |
 |
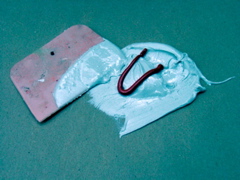
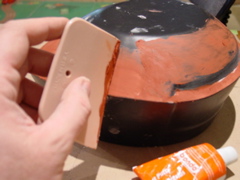
Mix the two parts according to directions. |
Smear on the seam... | And feather out the edges. |
 |
 |
 |
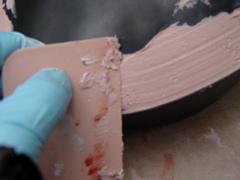
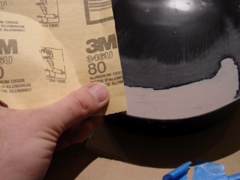
| Work fast, then set aside and allow it to dry. | Sand with 80 grit paper. | Time to add some spot putty for any scratches or spots missed. |
 |
 |
 |
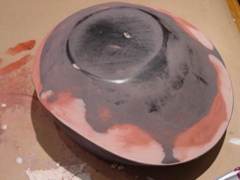
| Add a good smooth coat. Allow it to dry. | Now, take some care on the recessed rear portion. Get this nice and smooth. | Sand with 120 or 180 grit sand paper. |
 |
 |
 |
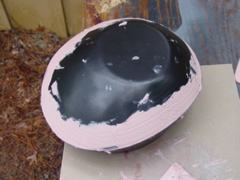
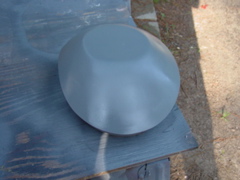
| Remove the sanding dust, and it's ready to paint with the primer. Scratches on the surface will help the primer adhere to the plastic. | I use Krylon Gray 'all purpose' primer. | Several coats should be applied and it allowed to dry. |
 |
 |
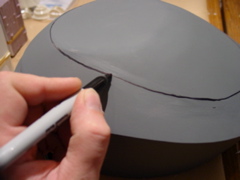 |
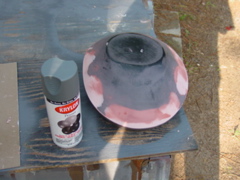
| Ready to paint the top half. | Flip over, and your ready to paint the top half. | Once the paint is dry, you are ready to mark and trim the bottom. This is a trim and test fit operation unique to your soft helmet. Use the guide as a starting point only. |
 |
 |
 |
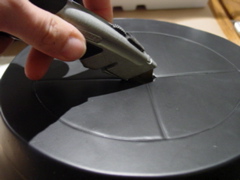
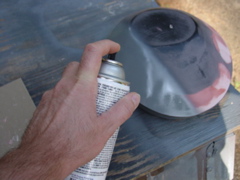
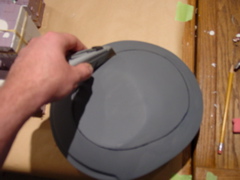
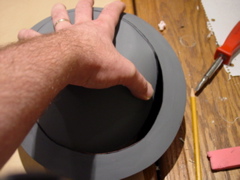
| Trim along the indicated guide line. Score, and press like you did when cutting the crown section. | Press your thumb through and remove the bottom section. Test fit against your soft helmet, trimming as little as you can. You want a snug fit. | Your almost done! Your donut is ready for the top coat and weathering. What color is up to you. |
Other Links:
Endor Commando costume page.
PDF of the printed assembly guide.
DH2- StudioCreations - How to site. Great references, and a great tutorial!
SWTroopers.com - Another great reference site for the Fleet Trooper.
Last update, October 19, 2008