| View previous topic :: View next topic |
| Author |
Message |
PARATECH1
Expert

Joined: 19 Mar 2008
Posts: 112
Location: ALABAMA
|
 Posted: Mon Mar 16, 2009 4:54 pm Post subject: Posted: Mon Mar 16, 2009 4:54 pm Post subject: |
 |
|
| Your steel frame and platens look "Awesome." You really are doing a totally supurb job in your machines construction. |
|
| Back to top |
|
 |
TD1035
Novice

Joined: 02 Aug 2006
Posts: 31
|
| Posted: Sun Mar 29, 2009 6:40 pm Post subject: |
|
|
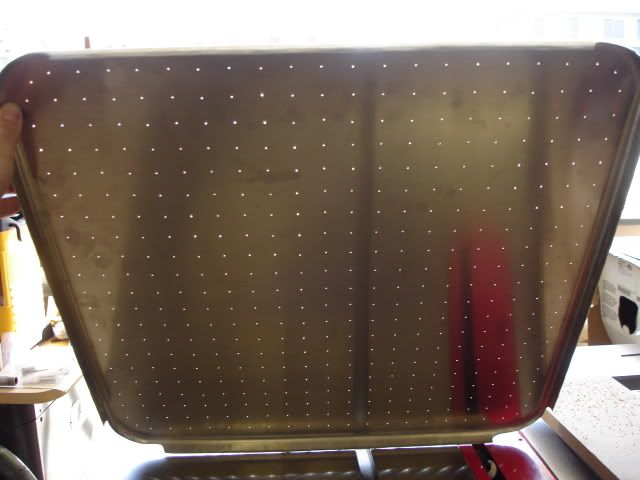
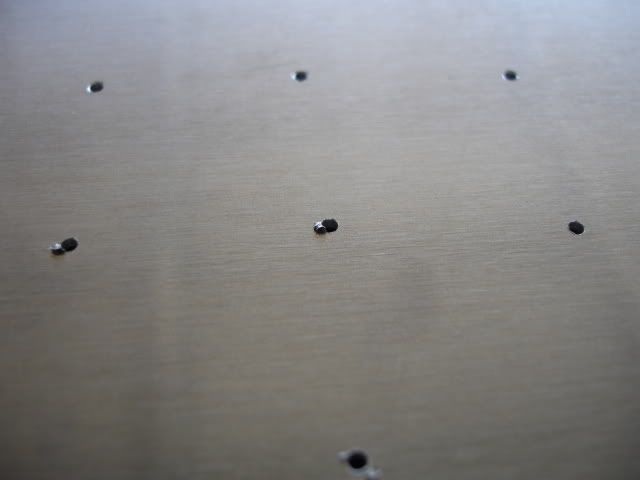
I was able to complete the drilling of ALL those tiny little holes on the small platen.
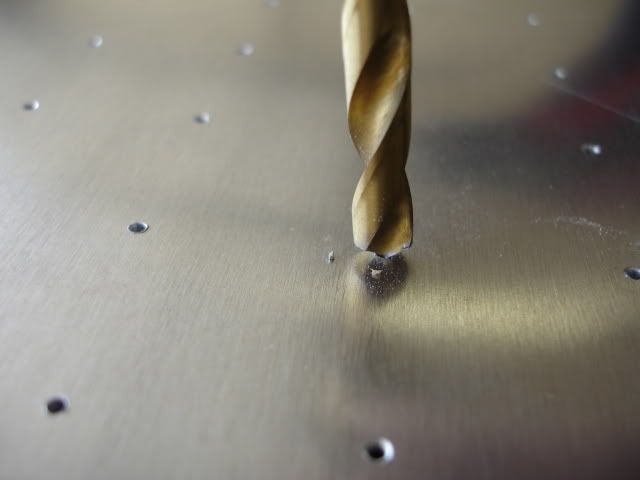
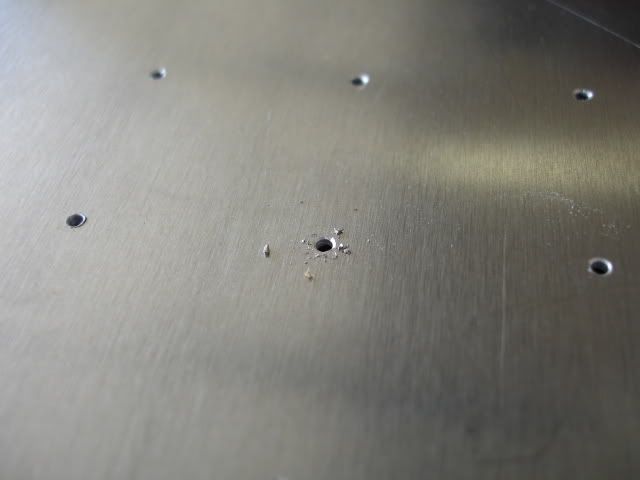
Once the holes are drilled, you need to remove the bur that is left by using a 1/4" drill bit. Just give it a twist by hand and it removes the bur quite nice.
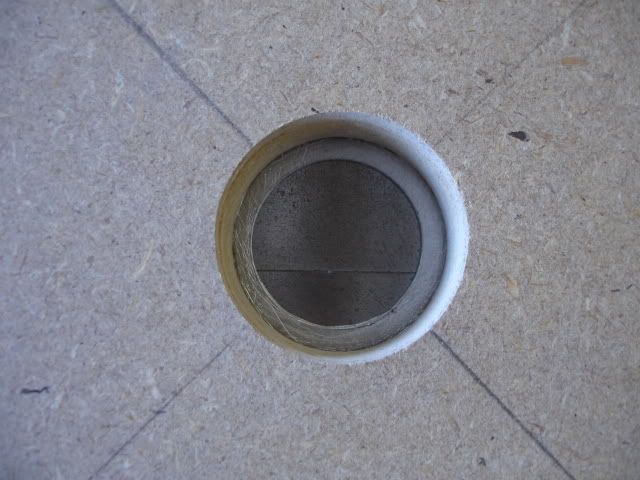
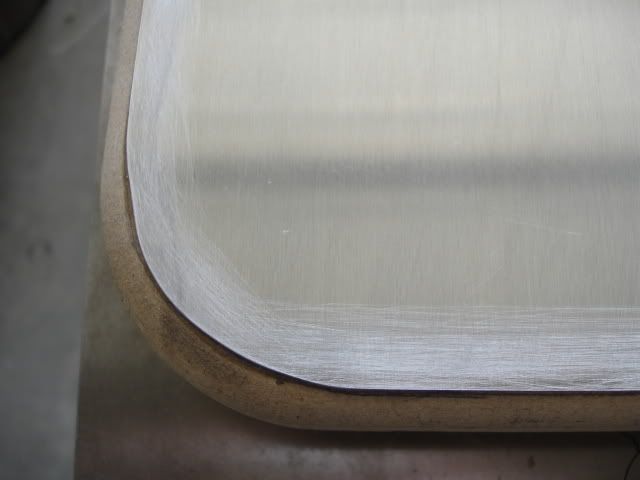
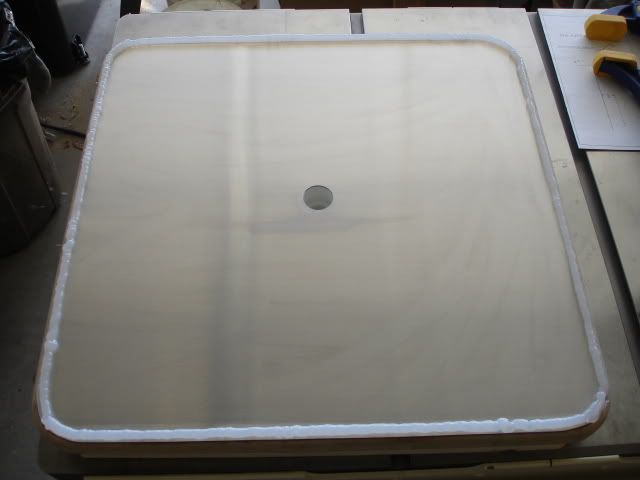
Next it was time to glue down the aluminum sheet to the platen frame and cut out the hole.
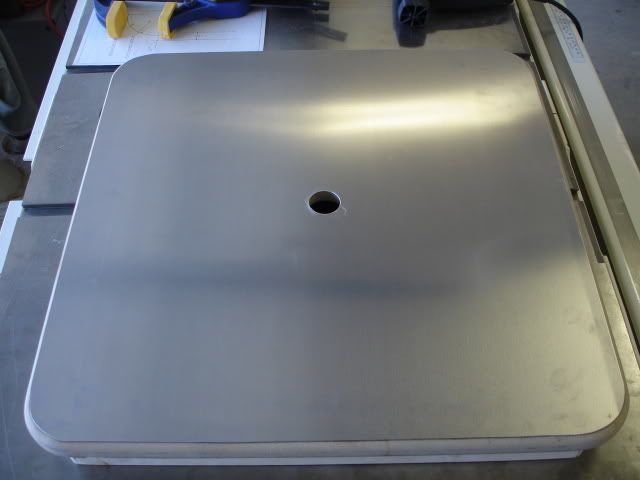
Notice that the hole in the wood is slightly larger than the hole in the aluminum plate. This is so the PVC fitting will seal against the metal plate.
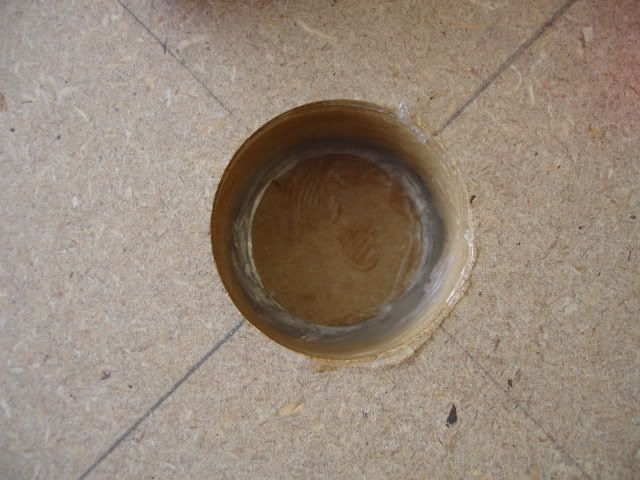
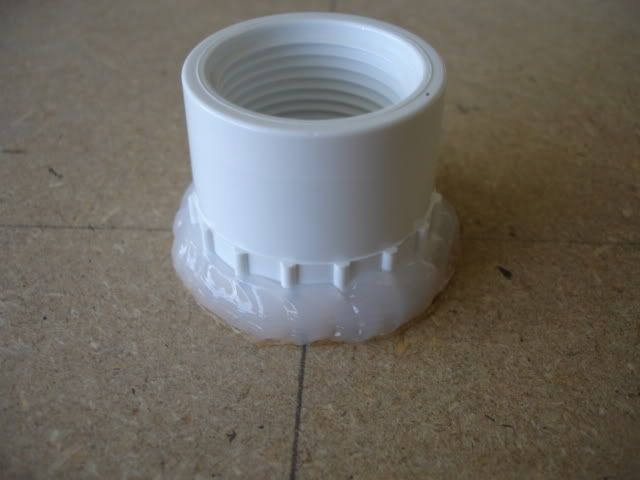
Now add a little silicone adhesive to the base plate...
And a little to the PVC fitting...
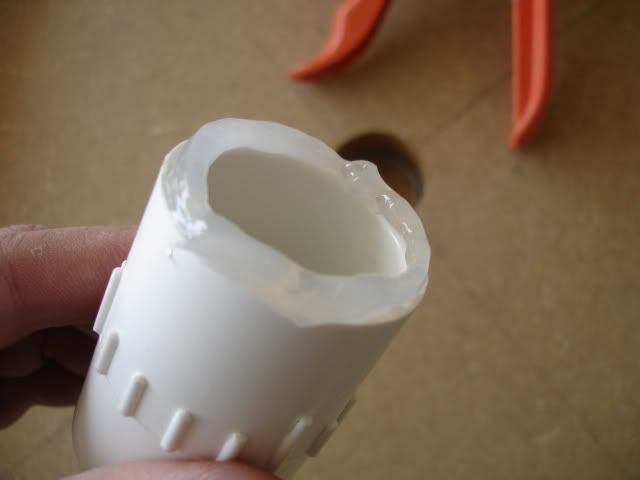
And insert the PVC fitting into the base plate.
Time to let all the silicone cure before the next step. I'll try and get the top plate of the platen glued down tomorrow.
Todd
_________________
"If you're not living on the edge, you're taking up too much space!" |
|
| Back to top |
|
|
TD1035
Novice
Joined: 02 Aug 2006
Posts: 31
|
| Posted: Sun Apr 05, 2009 6:45 pm Post subject: |
|
|
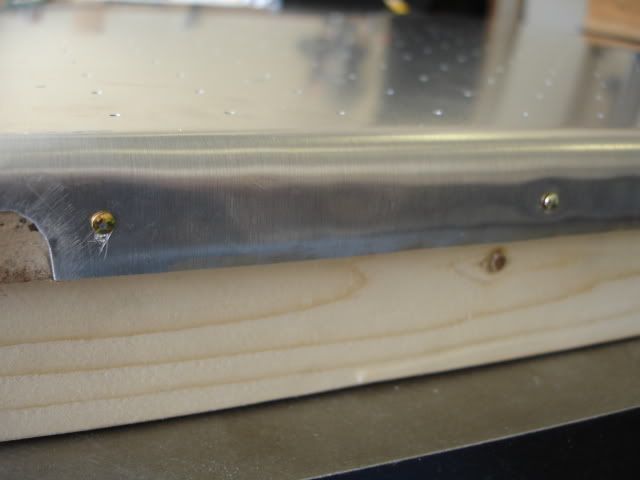
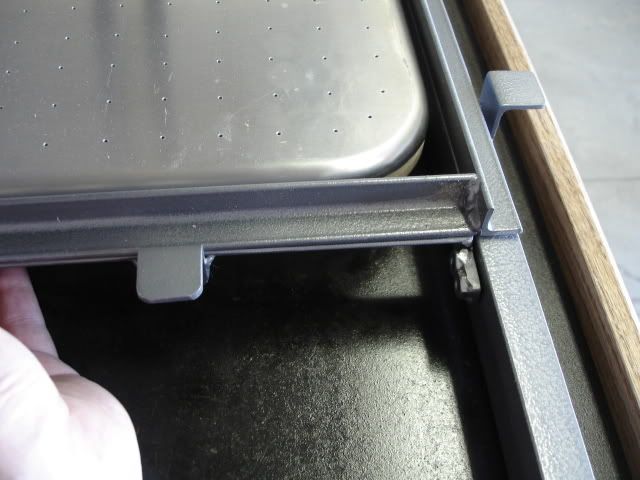
The 2x2 platen is complete! With a little roughing up of the edge so the silicone can adhere.
Then add the silicone in a 1/4" bead.
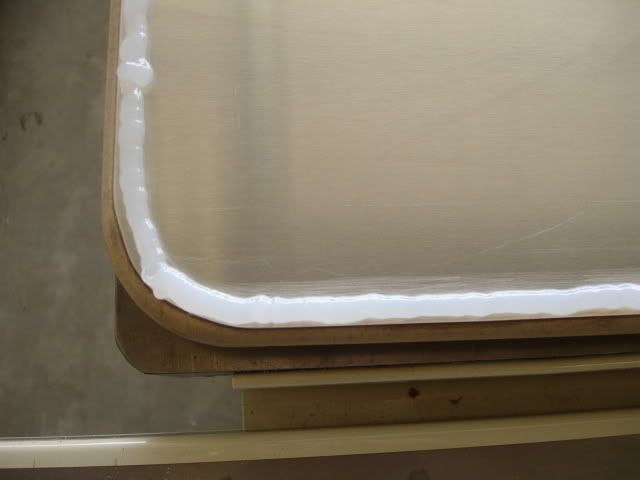
And finaly attach the aluminum top and secure the side with small nails and it is finished!
Then it was time to construct the crossmembers that would make it possible to use multiple plantens. Here is the mock up of the crossmember...
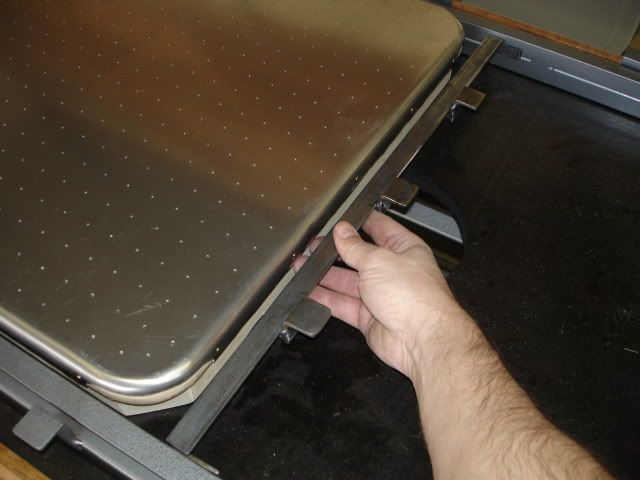
Just have to make another one and get them painted and mounted.
Todd
_________________
"If you're not living on the edge, you're taking up too much space!" |
|
| Back to top |
|
|
kayaker43
Expert
Joined: 13 Jun 2007
Posts: 175
|
| Posted: Tue Apr 07, 2009 4:13 pm Post subject: |
|
|
Great job Todd,.. did you remember to put the screen between the layers before you sealed down the top sheet 
_________________
Doug Walsh
www.build-stuff.com
Hobby-Vac and Proto-Form machine plans
Also other plans books and videos for people who like to build things |
|
| Back to top |
|
|
TD1035
Novice
Joined: 02 Aug 2006
Posts: 31
|
| Posted: Tue Apr 07, 2009 9:32 pm Post subject: |
|
|
Yep, it is there...I guess that is the picture I forgot to post  I actually tacked the screen down with a little CA glue to the top aluminum sheet to keep it in place during assembly. I'll have to add those pics so I don't confuse anyone. I actually tacked the screen down with a little CA glue to the top aluminum sheet to keep it in place during assembly. I'll have to add those pics so I don't confuse anyone.
Todd
_________________
"If you're not living on the edge, you're taking up too much space!" |
|
| Back to top |
|
|
semajarab
Newbie

Joined: 07 Apr 2009
Posts: 5
Location: Atlanta, GA
|
| Posted: Wed Apr 08, 2009 1:50 pm Post subject: |
|
|
| amazing post and pics!! Keep up the good work. Your build and pics inspired me to make my own proto form machine. Pics and videos to come! |
|
| Back to top |
|
|
ANH trooper
Master

Joined: 20 Oct 2005
Posts: 305
Location: UK
|
| Posted: Fri Apr 10, 2009 5:10 am Post subject: |
|
|
Really top job so far Todd 
How do you plan to make the platens interchangable?
I can see how you will swop them over, I'm just having trouble thinking how you can plumb them up each time you change them without having to go through too much trouble?
Another thing I have noticed is that you will have to change the nylon bolts in those clamps or they will surley melt  |
|
| Back to top |
|
|
TD1035
Novice
Joined: 02 Aug 2006
Posts: 31
|
| Posted: Fri Apr 10, 2009 12:02 pm Post subject: |
|
|
| ANH trooper wrote: | Really top job so far Todd
How do you plan to make the platens interchangable?
I can see how you will swop them over, I'm just having trouble thinking how you can plumb them up each time you change them without having to go through too much trouble?
Another thing I have noticed is that you will have to change the nylon bolts in those clamps or they will surley melt |
Thanks for the compliments! As far as changing out the platens, I am still looking at hardware. I'm thinking maybe some type of quick disconnect on the hose. Each platen will be held down with four bolts so in theory all you will need to do is detach the four surface bolts, quick disconnect the hose underneath, and move the cross members.
Yes, your are correct! I will be changing out the nylon bolts. I just need to get to the hardware store to get the correct size and length. More pics to come!
Todd
_________________
"If you're not living on the edge, you're taking up too much space!" |
|
| Back to top |
|
|
kayaker43
Expert
Joined: 13 Jun 2007
Posts: 175
|
| Posted: Fri Apr 10, 2009 1:15 pm Post subject: |
|
|
I have looked at quick disconnects but they tend to be expensive and restrictive. The garden hose ones are too small for anything larger than a couple square feet. A rubber hose pushed onto a barb fitting is easy but sometimes hard to remove unless you file the barbs off.
Plain old PVC pipe pushed into a fitting but not cemented works well. The vacuum pulls it together and a quick twist frees it up. 1 1/4 radiator hose slips over PVC to make couplers.
_________________
Doug Walsh
www.build-stuff.com
Hobby-Vac and Proto-Form machine plans
Also other plans books and videos for people who like to build things |
|
| Back to top |
|
|
TD1035
Novice
Joined: 02 Aug 2006
Posts: 31
|
| Posted: Mon Apr 13, 2009 1:22 pm Post subject: |
|
|
Great info about the quick disconnects. Looks like I will be going with simple PVC fittings and hose clamps.
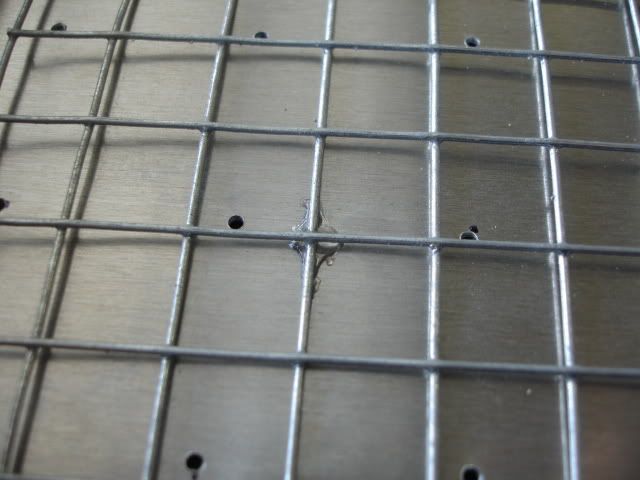
Here are the pics of the screen that is installed in between the two layers of aluminum sheeting.
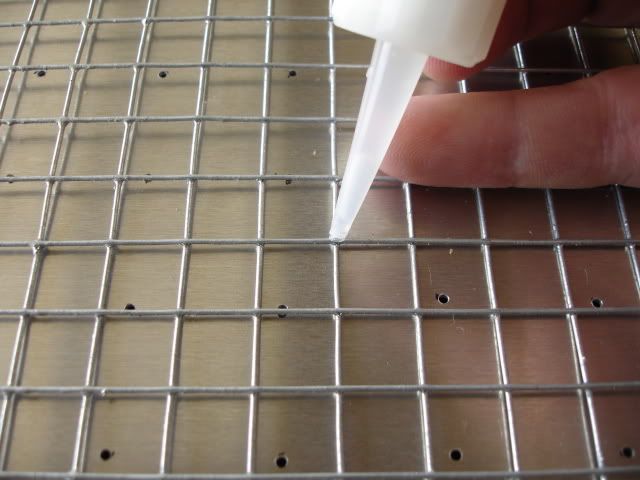
I used a drop of CA glue in about six spots to keep the screen from moving around during the installation.
Todd
_________________
"If you're not living on the edge, you're taking up too much space!" |
|
| Back to top |
|
|
TD1035
Novice
Joined: 02 Aug 2006
Posts: 31
|
| Posted: Mon Apr 13, 2009 6:22 pm Post subject: |
|
|
The cross members are finished!!!!
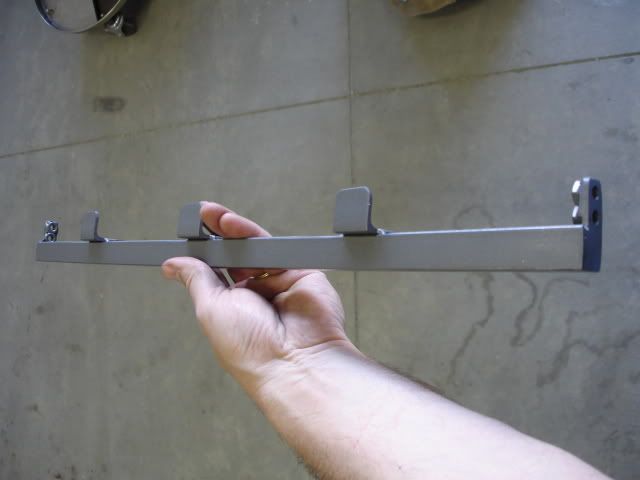
With a couple of nuts welded on each end they should be nice and sturdy.
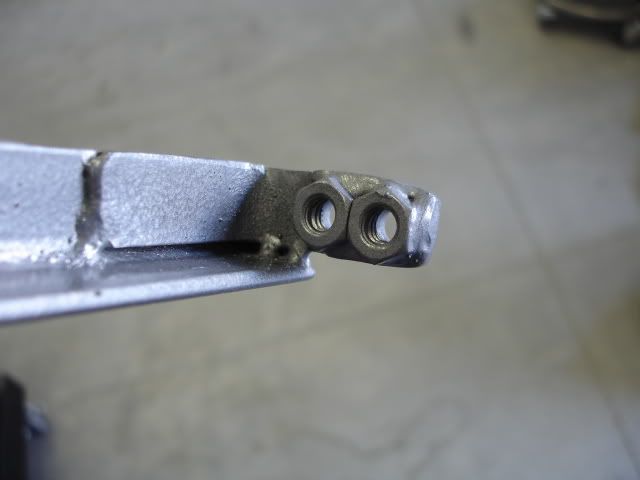
Now I have to line them up with the carrier frame and drill the holes for the bolts.
Todd
_________________
"If you're not living on the edge, you're taking up too much space!" |
|
| Back to top |
|
|
ANH trooper
Master
Joined: 20 Oct 2005
Posts: 305
Location: UK
|
| Posted: Sat Aug 15, 2009 10:29 am Post subject: |
|
|
| Any updates for us Todd? |
|
| Back to top |
|
|
TK 109
Guru

Joined: 11 May 2007
Posts: 712
Location: Galena, Ohio
|
| Posted: Sat Aug 15, 2009 9:50 pm Post subject: |
|
|
Yeah, This is NICE!
_________________
-Alex
-------------------------------------------------------
 |
|
| Back to top |
|
|
TD1035
Novice
Joined: 02 Aug 2006
Posts: 31
|
| Posted: Thu Jan 07, 2010 6:59 pm Post subject: |
|
|
Well, its been a LONG while since I have been on the forum...but for good reason. I ended up hurting my back at work pretty bad last year and was laid up for months...needless to say I didn't get anything done on the machine.
But my back is much better now and 2010 brings new beginings! My machine is officially finished!!!!!
I made several modifications to Doug's plans that I think many people will be interested to see. I will take some pictures this weekend and post the finished project! I super excited to get into production!!!!!
PS. I just noticed that I finished the machine almost one year to the DAY that I started the build...what a slacker!
Todd
_________________
"If you're not living on the edge, you're taking up too much space!" |
|
| Back to top |
|
|
kayaker43
Expert
Joined: 13 Jun 2007
Posts: 175
|
| Posted: Thu Jan 07, 2010 11:05 pm Post subject: |
|
|
Good to hear you're feeling better, I know all about back problems. I didn't want to nag you for more pics, I understand life gets in the way sometimes and projects never get finished. Glad to see its back on track. It would have been a shame for you not to finish this one, I refer people to this thread all the time.
_________________
Doug Walsh
www.build-stuff.com
Hobby-Vac and Proto-Form machine plans
Also other plans books and videos for people who like to build things |
|
| Back to top |
|
|
|

