| View previous topic :: View next topic |
| Author |
Message |
backyard_cnc
Novice
Joined: 01 Nov 2014
Posts: 26
|
 Posted: Sat Nov 08, 2014 3:30 pm Post subject: New Member New Protoform Build Posted: Sat Nov 08, 2014 3:30 pm Post subject: New Member New Protoform Build |
 |
|
Hi to all the forum members.
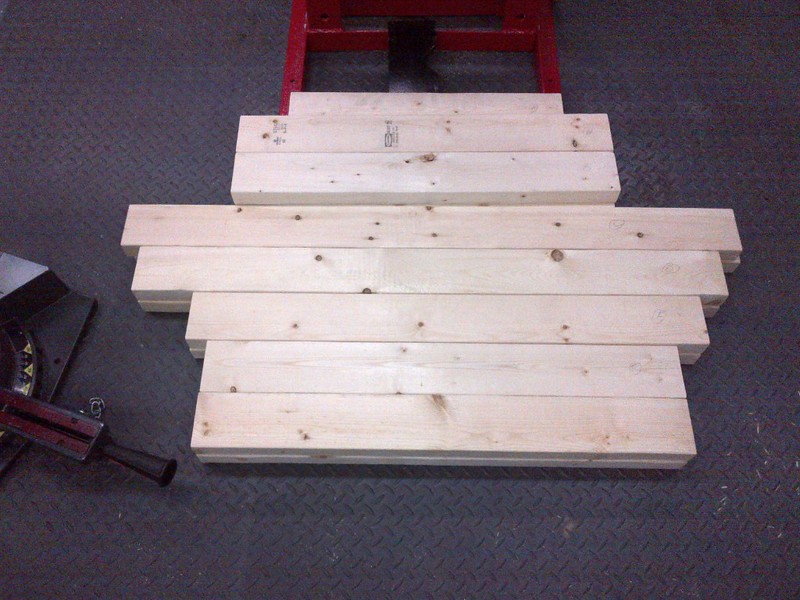
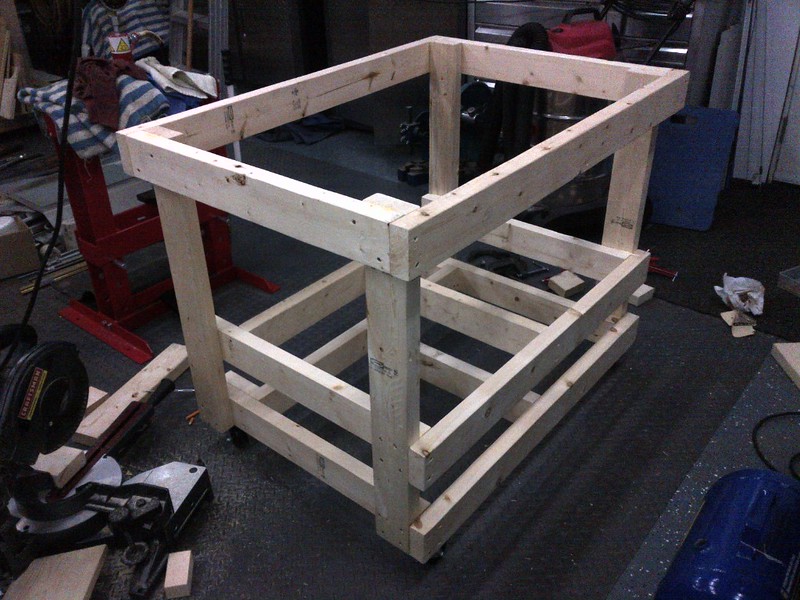
Name is Gerald and I am seriously into CNC tools and machine shop projects. Needed a machine to form a bunch of parts in 1/4" ABS so I am currently building a 2'x 3' Proto-form from the plans.
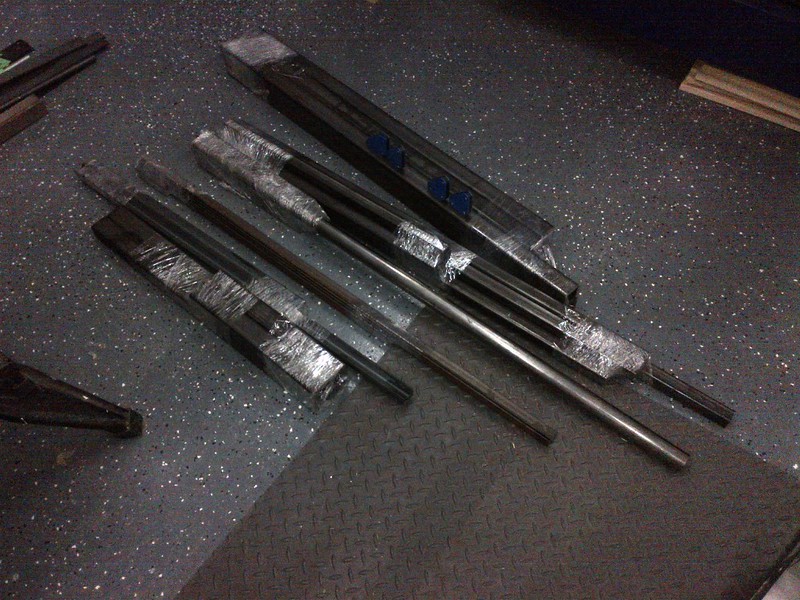
Just started with the base and picked up my steel today to build my frame! Hope to be done by early new year but my projects have been known to start quickly and finish up slowly!
Look forward to posting more pics once I make progress:
Gerald

]
Last edited by backyard_cnc on Sun Nov 09, 2014 3:14 am; edited 1 time in total |
|
| Back to top |
|
 |
backyard_cnc
Novice
Joined: 01 Nov 2014
Posts: 26
|
| Posted: Sat Nov 08, 2014 3:40 pm Post subject: |
|
|
I guess I didn't post the pictures correctly since they don't show up. Can anyone enlighten me as to what I did wrong.
thanks
Gerald |
|
| Back to top |
|
|
Fredo
Master
Joined: 21 Mar 2007
Posts: 251
Location: Kingdom of Nye Area 51
|
| Posted: Sat Nov 08, 2014 3:55 pm Post subject: |
|
|
Don't give up... Go back and delete them and try again.... There are some really good build threads here for the proto-form... check'em out..
_________________
If someone has a gun and is trying to kill you,
it would be reasonable to shoot back with your own gun...The Dalai Lama..Seattle 2001 |
|
| Back to top |
|
|
crashmann
Guru

Joined: 27 Sep 2005
Posts: 501
|
| Posted: Sun Nov 09, 2014 1:33 am Post subject: |
|
|
It looks like you are on your way to a great ProtoForm build!
You're almost there with embedding the pictures in your post.
The trick with Flickr is to click the arrow at the bottom right of the page:

Select "BBCode"
Choose Medium 800x600 for the image size
Then copy the text highlighted in blue
Paste that text into your post, then click Preview to make sure the image shows up properly.
Flickr adds a little extra stuff in the code
- A direct link to the image page
- A link to your Flickr name
You can delete this extra stuff and just keep the link between the [img] and [/img] tags 
I'm looking forward to seeing more of your build!
Charlie |
|
| Back to top |
|
|
backyard_cnc
Novice
Joined: 01 Nov 2014
Posts: 26
|
| Posted: Sun Nov 09, 2014 3:15 am Post subject: |
|
|
Awesome Charlie, thanks for the tips. Easy to do once you know how and my pics while not exciting at least are visible!
Cheers
Gerald |
|
| Back to top |
|
|
backyard_cnc
Novice
Joined: 01 Nov 2014
Posts: 26
|
| Posted: Mon Nov 10, 2014 5:13 pm Post subject: More parts done! |
|
|
Made a bunch of the steel parts today, most of the pieces requiring drilled holes are done. I set up my milling machine to cut the 1 1/4" concave radius into the ends of the lifting mechanism side rails for attaching to the horizontal pipe handle. I used a hole saw to accomplish this and shot a short video to illustrate the set up which an be seen here on youtube from the link below. Not that exciting but worked out well. A similar result could be obtained with a drill press.
Gerald
https://www.youtube.com/watch?v=fC0PqMYFZr4 |
|
| Back to top |
|
|
backyard_cnc
Novice
Joined: 01 Nov 2014
Posts: 26
|
| Posted: Fri Nov 14, 2014 7:51 pm Post subject: |
|
|
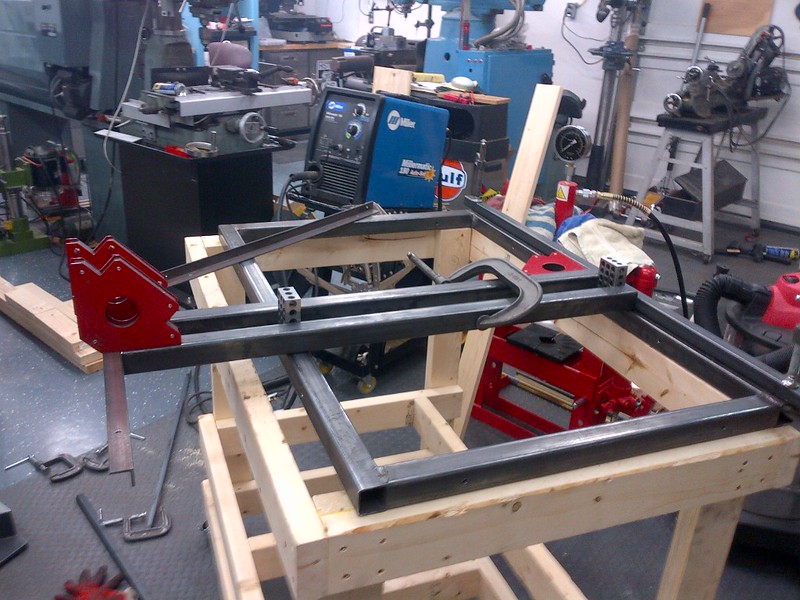
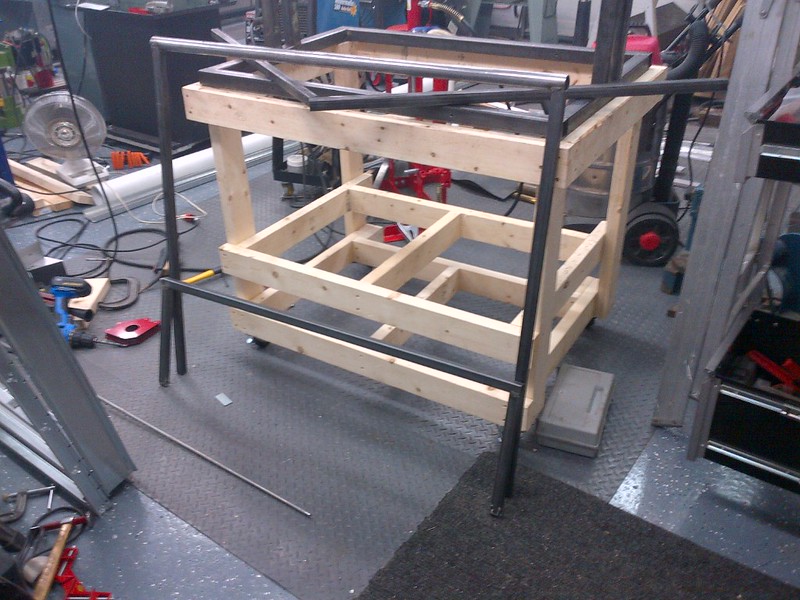
a few more pics of todays progress. Got the steel all prepped and drilled as required and welded up the frame. Definitely starting to look like a Proto-Form machine. Even got the heater kit ordered up and it should ship today. Can't wait for that first pull!
Gerald


 |
|
| Back to top |
|
|
backyard_cnc
Novice
Joined: 01 Nov 2014
Posts: 26
|
| Posted: Sat Nov 15, 2014 6:07 pm Post subject: |
|
|
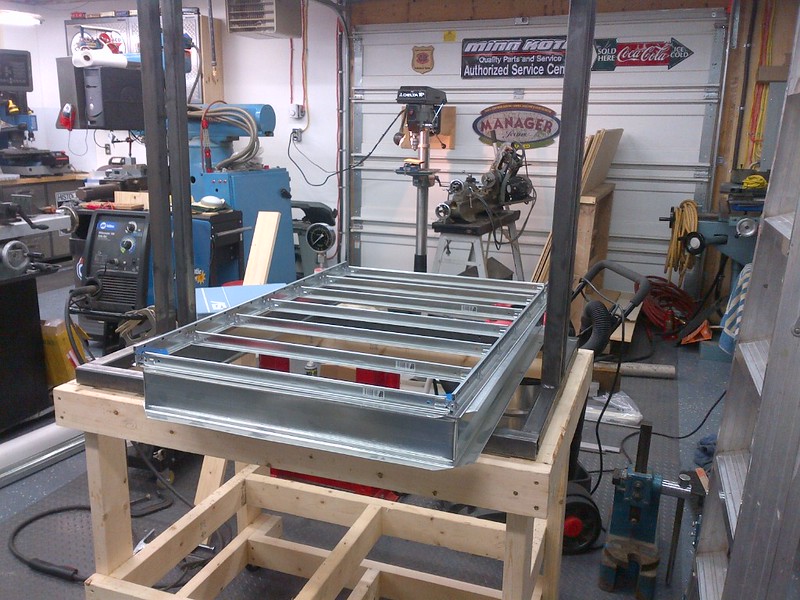
Went to home depot today and got a few more things for the build including the hinges and plastic slides. Since my heater kit is on its way I thought I would grab the required pieces to build the steel oven frame. Worked out good that HD had 10' steel studs and I am building a 2'x3' so 1 stud was enough to make the box and just needed a small piece of angle to close of the open corner. Very Pleased with my progress to date. With any luck I will complete the major construction before the heaters arrive and then tackle the heat and electrical. Probably will leave the bulk of the plumbing until last but that may change as I proceed.
Gerald
 |
|
| Back to top |
|
|
crashmann
Guru
Joined: 27 Sep 2005
Posts: 501
|
| Posted: Sun Nov 16, 2014 11:40 am Post subject: |
|
|
Very impressive! You're moving right along!
Keep up the good work and keep sharing pictures. The Protoform is a handsome machine! |
|
| Back to top |
|
|
backyard_cnc
Novice
Joined: 01 Nov 2014
Posts: 26
|
| Posted: Sun Nov 16, 2014 12:03 pm Post subject: |
|
|
Thanks crashmann appreciate the comments! Nicely built and painted the ProtoForm is definitely a nice looking machine. Not quite sure what color I will paint mine just yet but leaning towards a blue so it will match my Shopbot CNC router which will make its molds.
Gerald |
|
| Back to top |
|
|
backyard_cnc
Novice
Joined: 01 Nov 2014
Posts: 26
|
| Posted: Mon Nov 17, 2014 3:45 pm Post subject: |
|
|
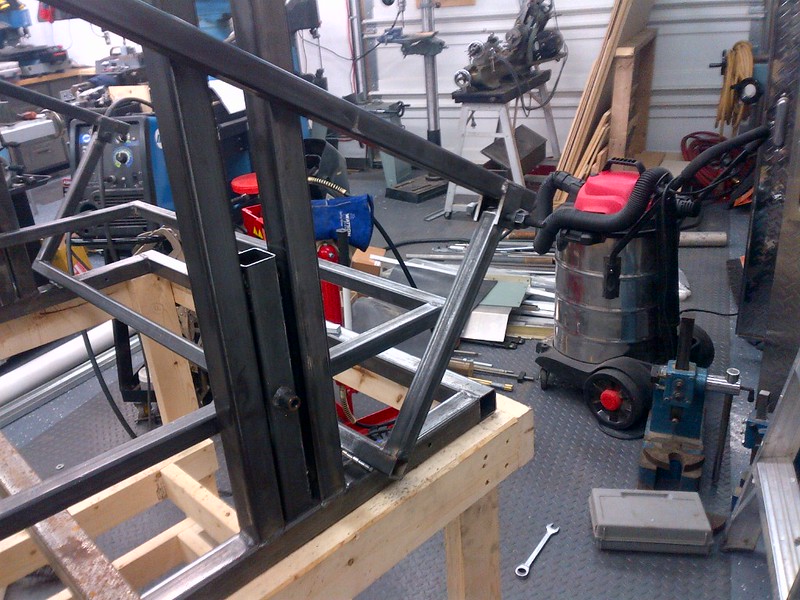
A little more shop time this afternoon and I have assembled the major components of the lifting mechanism and also fabricated the basic frame and slides, overall very happy with the progress to date. Don't think I will ever be a professional welder but if not so pretty at least it all seems plenty strong!
Gerald


 |
|
| Back to top |
|
|
backyard_cnc
Novice
Joined: 01 Nov 2014
Posts: 26
|
| Posted: Tue Nov 18, 2014 6:02 pm Post subject: |
|
|
A small amount of progress today welding on the hinges and pivot points for the lift. Looks more and more like a Proto-Form everyday!
 |
|
| Back to top |
|
|
backyard_cnc
Novice
Joined: 01 Nov 2014
Posts: 26
|
| Posted: Wed Nov 19, 2014 1:54 pm Post subject: |
|
|
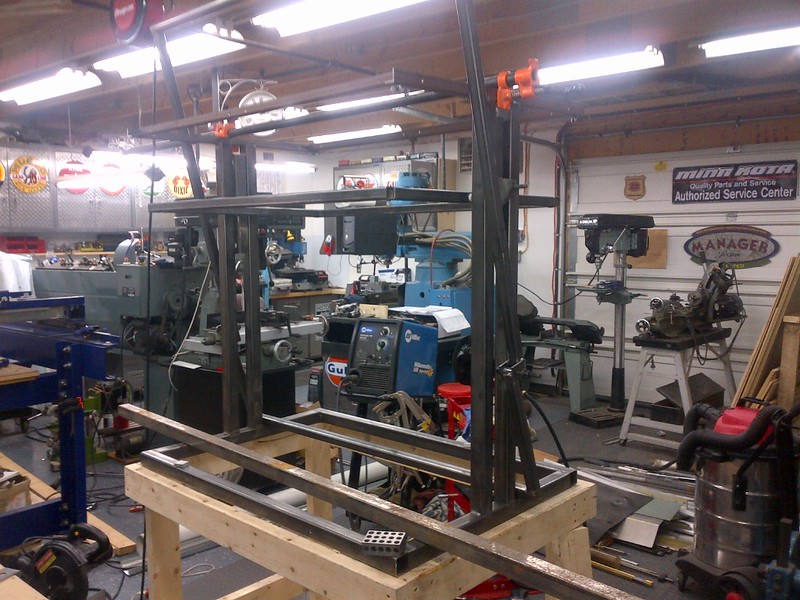
YES!!!! Today is the first major milestone when the frame and lifting mechanism are complete and operational. Goes up and down surprisingly well although I must say that when in the up position it is a stretch for me to reach the handle (vertically challenged at only 5'8") so a day of work might require a low platform to stand on for ease of use. A little more finishing up and the steel will be cleaned up and painted prior to adding the wood trim. Looking at using OAK with a nice stained finish for a classy appearance, but we will see how the prices look when I get to the lumber store!
Gerald
 |
|
| Back to top |
|
|
Hot_Wheels
Newbie
Joined: 19 Sep 2014
Posts: 22
|
| Posted: Tue Dec 02, 2014 12:30 am Post subject: |
|
|
| Awsome! I want your man cave! |
|
| Back to top |
|
|
backyard_cnc
Novice
Joined: 01 Nov 2014
Posts: 26
|
| Posted: Tue Dec 02, 2014 12:48 am Post subject: |
|
|
well with a little hard work and a good line of credit at the bank anything is possible....................... 
a bigger issue is too many toys and never enough time for all the projects and still managing to work and pay for it all .
oh well that's life I guess but still having fun. This past week I have been hired to set-up and configure a large CNC router that was purchased out of CHina. Got it wired up and moving under its own power today. Still loads of tuning and config work to do but nice to have motion and great to be getting paid to do things I typically only play with for free. Once its running I have to digitize a great many parts patterns and generate toolpaths so will be a good gig for some time to come.
cheers
gerald
ps given your user id you likely need one of these:
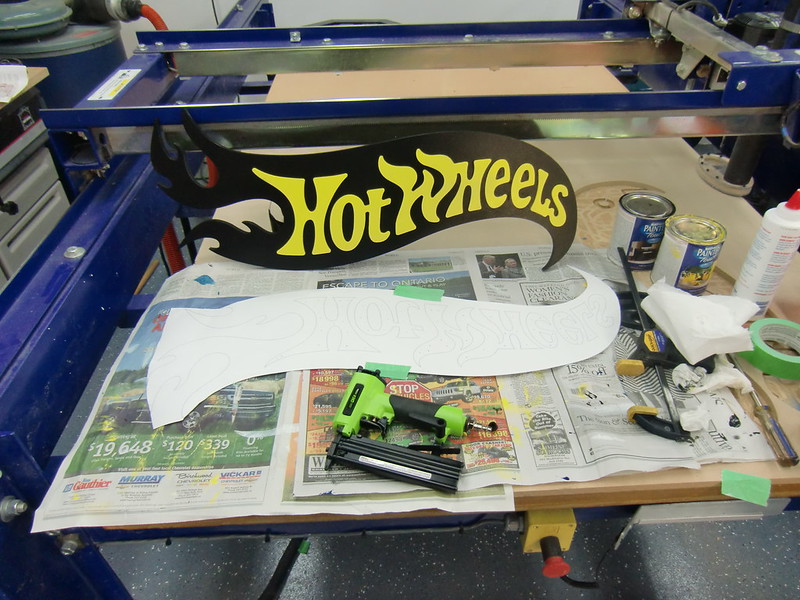 |
|
| Back to top |
|
|
|

