 |
www.TK560.com
Vacuum Forming, Movie Prop, Sci-fi and GIjOE Forum
|

|


|
| View previous topic :: View next topic |
| Author |
Message |
Culvan
Novice

Joined: 20 May 2008
Posts: 85
Location: Kansas City, MO
|
 Posted: Wed Aug 20, 2008 10:33 pm Post subject: Posted: Wed Aug 20, 2008 10:33 pm Post subject: |
 |
|
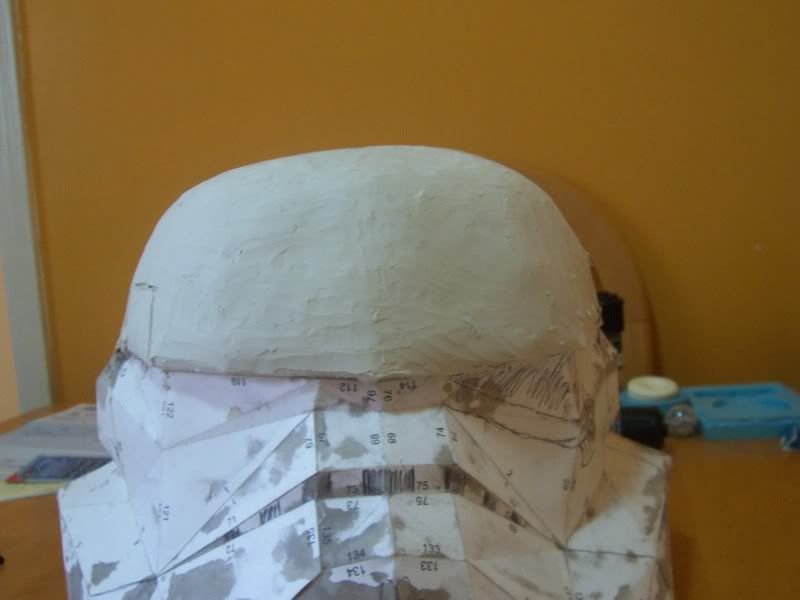
Looks like you've got a type of plascicine clay. Rubbing a solvant over it will disolve the outer layer and when the solvant evaporates it will be slightly smoother. I've been using rubbing alcohol on my hands and it does seem to help. I've read that puting a nylon stocking over a sponge and soaking it in alcohol is very effective to rub on your mold. It sounds like it's more like sanding. I haven't tried that yet.
I did find that putting an ice pack over a section made it easier to smooth out. It hardens the area and makes it so I can only move the outermost ridges.
The most effective tool I've used to make it smoother is a section of PVC pipe I use like a rolling pin.
The "geometric origami base" was made using a program called pepakura. It can take a 3d model and unfold it. You can print that pattern on cardstock then fold it into the 3D shape. The demo version is free. They use it heavily in Halo costumes. The real masters of that are over on the 405th.com boards. It's pretty cool stuff. I'm very interested to see how it can be used with vacuum forming.
Andy |
|
| Back to top |
|
 |
DarthVader1
Expert

Joined: 04 Nov 2007
Posts: 193
Location: Phenix City, AL
|
| Posted: Mon Aug 25, 2008 3:20 pm Post subject: |
|
|
| tubachris85x wrote: |
-TC |
Watch out for the lump at the top to the right, since it's not entirely (and I hate to say it...even the term itself)....asimetrical. That could be easily fixed with a lot of sanding or shaving (if the clay is still soft, that is).
_________________
Robert
BH/TK/TB/TS 060
 |
|
| Back to top |
|
|
Indigogyre
Novice
Joined: 04 May 2006
Posts: 47
|
| Posted: Mon Aug 25, 2008 3:58 pm Post subject: Suggestion: Buttons! |
|
|
Since you have the origami base (I love it) and are just trying to add enough clay to flesh and smooth it here is a thought.
Determine the depth that you would like for the clay thickness and you can make small depth gauges and glue them to the various areas. Then all you have to do is fill in the voids with clay and smooth everything to the top of the depth gauges. It won't be perfect but it gives a good idea if you need to add or remove clay.
Dean |
|
| Back to top |
|
|
tubachris85x
Master
Joined: 15 Jan 2007
Posts: 351
Location: Ft. Lauderdale, Florida
|
| Posted: Tue Aug 26, 2008 9:46 am Post subject: |
|
|
Well, as of right now, Im pretty much going to be eyeballing the entirety of the helmet after I get the clay on it. Im trying to keep the layer of clay as thin as possible, because the thicker the layer, the larger the helmet will be after I mold it. It's already going to be a bit bigger then the pep base anyways.
to DarthVader1, the right side of the dome appears bigger because I dont have enough clay yet to completly fill that depression that was formed on the left side. The expanding foam really messed up the dome.
_________________
 |
|
| Back to top |
|
|
jegner
Site Admin

Joined: 30 May 2003
Posts: 2144
Location: Texas, USA
|
| Posted: Wed Aug 27, 2008 12:40 pm Post subject: |
|
|
| How goes the smoothing of the clay out? |
|
| Back to top |
|
|
tubachris85x
Master
Joined: 15 Jan 2007
Posts: 351
Location: Ft. Lauderdale, Florida
|
| Posted: Wed Aug 27, 2008 3:17 pm Post subject: |
|
|
| jegner wrote: | | How goes the smoothing of the clay out? |
LOL I havent tried any method yet. Ive been so caught up with getting my classes sorted out, and other stuff around the house. I still gotta work on two Jango helmet comissions ATM
_________________
|
|
| Back to top |
|
|
tubachris85x
Master
Joined: 15 Jan 2007
Posts: 351
Location: Ft. Lauderdale, Florida
|
| Posted: Mon Sep 01, 2008 4:19 pm Post subject: |
|
|
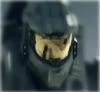
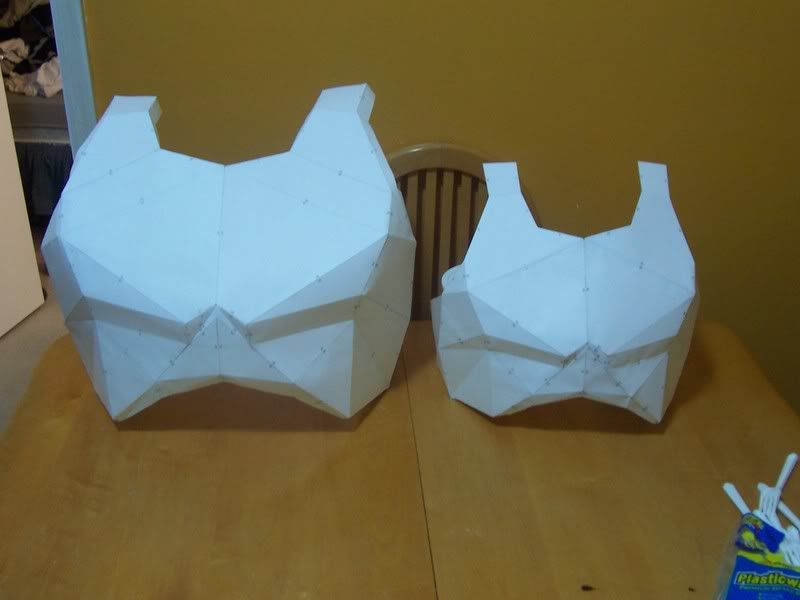
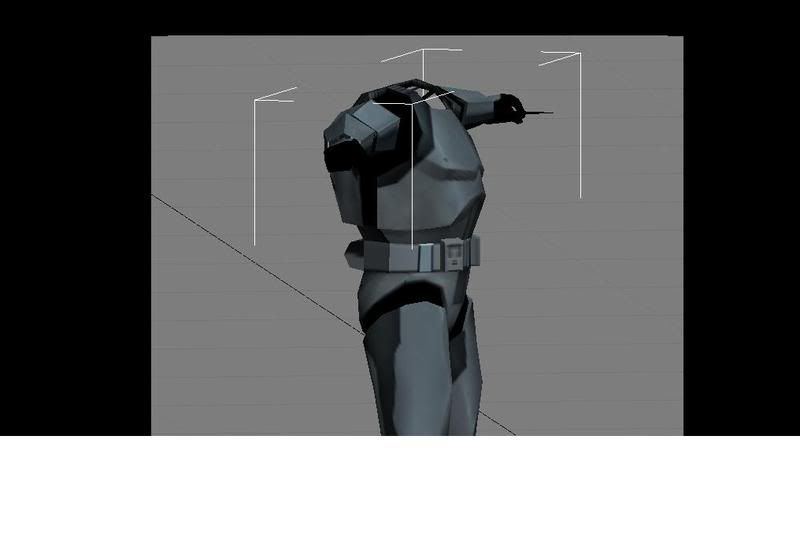
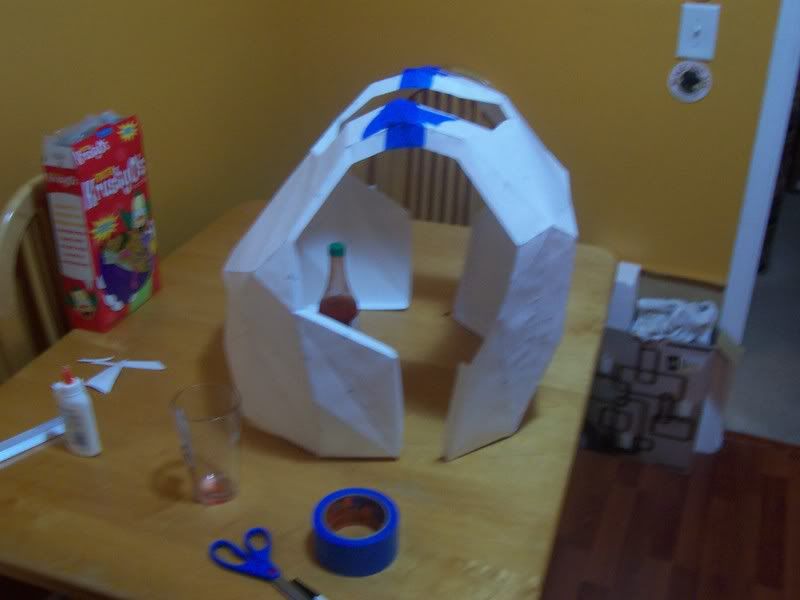
Alrighty then. With help from a 405th member, I learned how to convert the 3D model into pepakura! This will help making the rest of the armor easier for me. What I did was first do the shoulder bells. I decided to spend some time, and make a minature shoulder bell, the right one if your looking at the front of it. Not 100% perfect, but small stuff is hard to build if you have huge hand/fingers rofl.
Its hard to make out, but this is the best angle to really recognize it. You can see how much the model looks without smoothing.
I just need to figure out the scaling thing. I am only guessing, but I printed these out without modifying anything, and would venture to say its scaled for probably a 12 inch tall figure
-TC
_________________
|
|
| Back to top |
|
|
tubachris85x
Master
Joined: 15 Jan 2007
Posts: 351
Location: Ft. Lauderdale, Florida
|
| Posted: Tue Sep 02, 2008 12:46 am Post subject: |
|
|
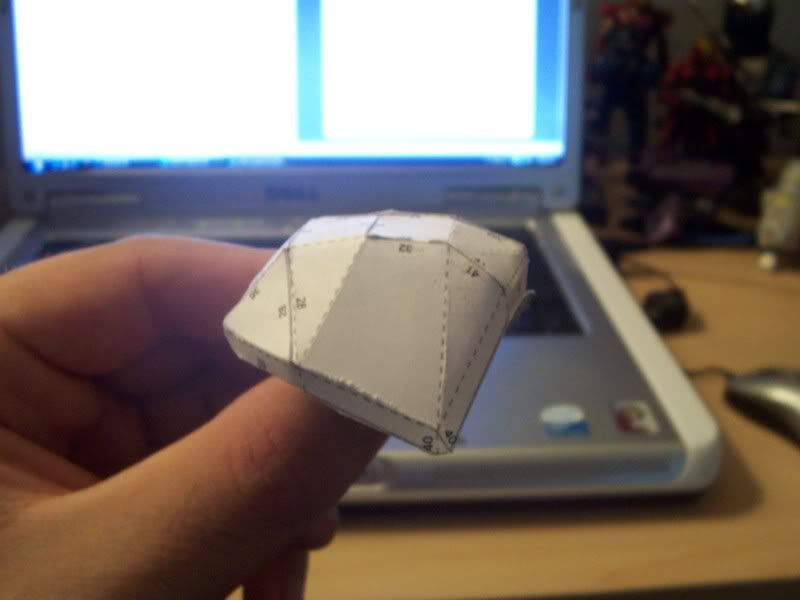
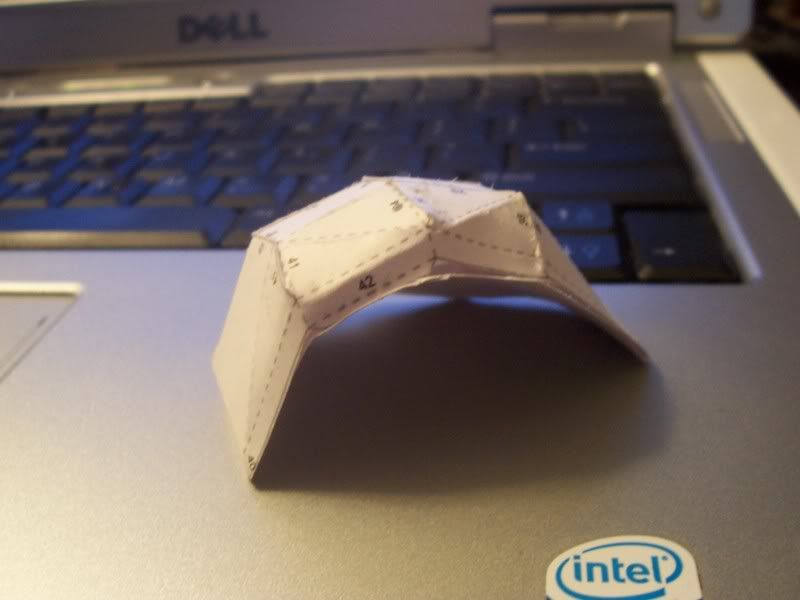
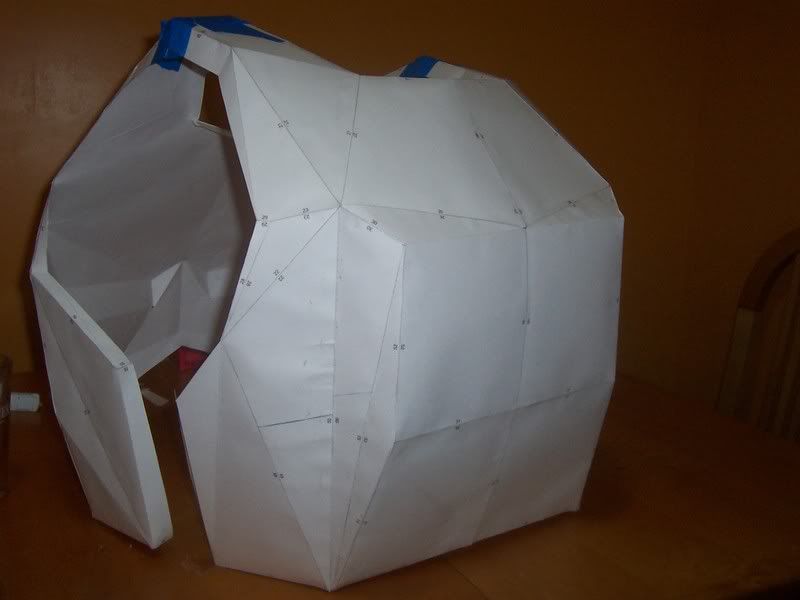
Well, I couldnt wait, so I decided to put this together. I think it came out pretty well. Ive decided that Im going to be molding the armor pieces that I make myself, and cast in a plastic resin. Of course, I'll be adding bondo and or clay before to make it all smooth!
-TC
_________________
|
|
| Back to top |
|
|
tubachris85x
Master
Joined: 15 Jan 2007
Posts: 351
Location: Ft. Lauderdale, Florida
|
| Posted: Tue Sep 02, 2008 1:02 am Post subject: |
|
|
Cripe, I just compared the size next to the helmet, and compared it next the the 3d model. I will have to increase it's size a bit to make it proportional. Plus, I felt it is a bit snug. I just need to figure out the proper proportions. I really dont want to re-do the helmet, after getting this far with it
_________________
|
|
| Back to top |
|
|
tubachris85x
Master
Joined: 15 Jan 2007
Posts: 351
Location: Ft. Lauderdale, Florida
|
| Posted: Wed Sep 03, 2008 8:06 pm Post subject: |
|
|
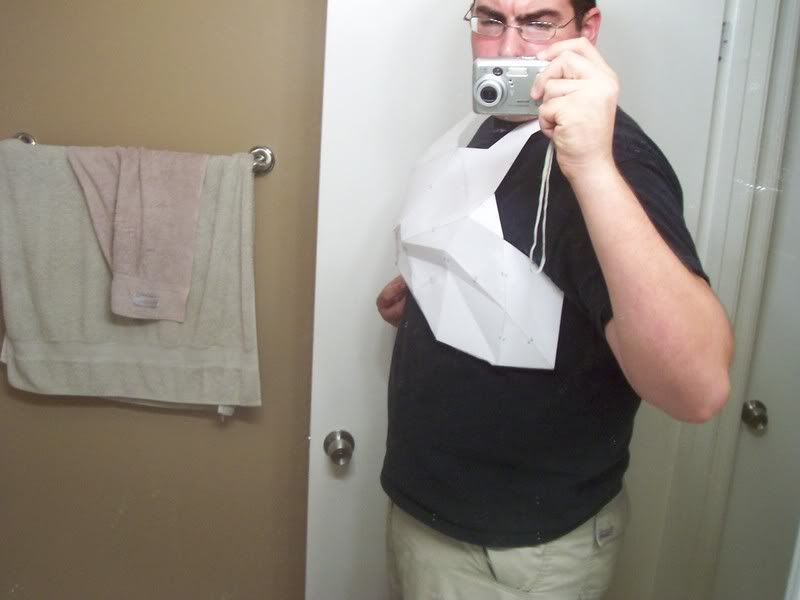
Alright. Just finished assembling this sucker. No other word I can say about this, then that its huge, but i fits in the sense that it falls into place where it should. I'll get a pic of it on me sometime..lol
-TC
_________________
|
|
| Back to top |
|
|
tubachris85x
Master
Joined: 15 Jan 2007
Posts: 351
Location: Ft. Lauderdale, Florida
|
| Posted: Wed Sep 03, 2008 8:59 pm Post subject: |
|
|
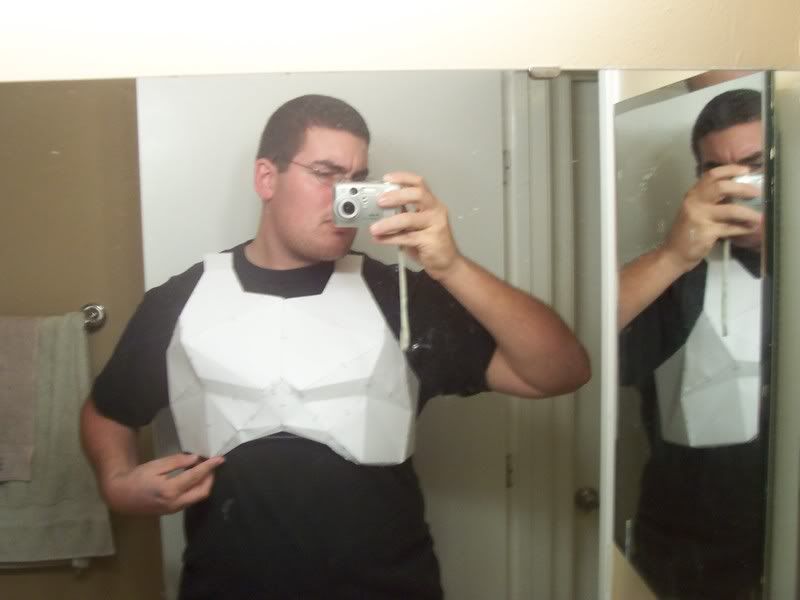
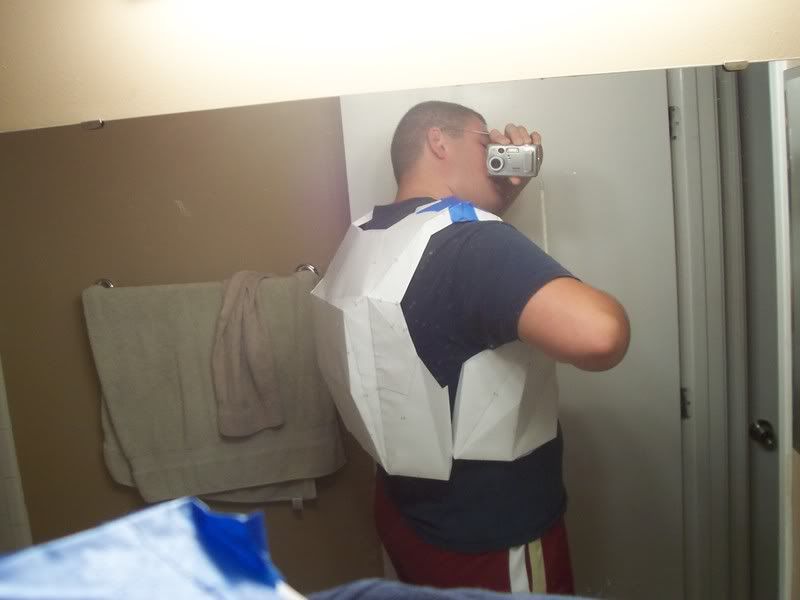
Here it is on me. Ignore my face
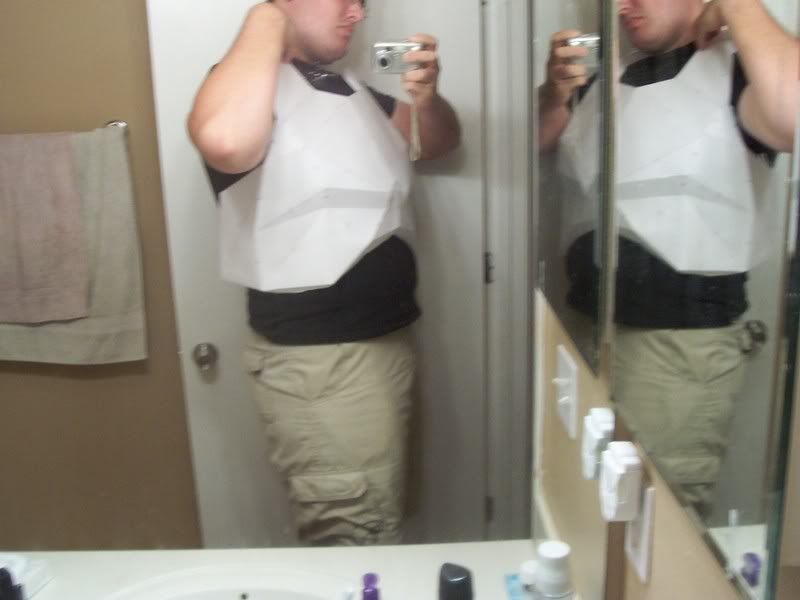
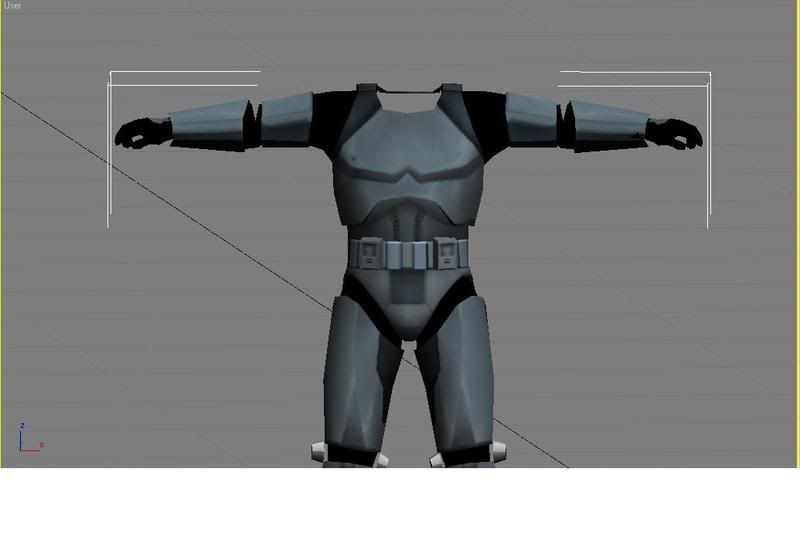
I have these up for comparison, to show how it should 'look' with everything else
The actual pep appears wider on me because it's not secured in anyway. It actually extends a bit around, and is supposed to be a bit more tight around me then it is.
_________________
|
|
| Back to top |
|
|
Culvan
Novice
Joined: 20 May 2008
Posts: 85
Location: Kansas City, MO
|
| Posted: Thu Sep 04, 2008 1:10 am Post subject: |
|
|
Looking good.
I was playing around with doing some clone trooper armor the same way. I made a shoulder bell and was surprised by how much it flexed. It was hard to maintain a consistent shape. I was going to make the shapes whole objects to provide support, but I've gotten distracted with other projects. I'll be curious to see if you experience that problem and how you fix it.
Andy |
|
| Back to top |
|
|
tubachris85x
Master
Joined: 15 Jan 2007
Posts: 351
Location: Ft. Lauderdale, Florida
|
| Posted: Thu Sep 04, 2008 9:39 am Post subject: |
|
|
| Culvan wrote: | Looking good.
I was playing around with doing some clone trooper armor the same way. I made a shoulder bell and was surprised by how much it flexed. It was hard to maintain a consistent shape. I was going to make the shapes whole objects to provide support, but I've gotten distracted with other projects. I'll be curious to see if you experience that problem and how you fix it.
Andy |
Ha, yea, I have sort of the same issue, especially with it being so big. The helmet didnt have really any flex which was good, but then again, it was pretty much put together so that it couldnt. The shoulder bell I can see that happening to. What I plan to do is just fiberglass it. The center of the chest is pretty sturdy in that it wont flex unless you make it, so I'll start in the center and slowly progress outwards, and make sure that I set whatever part Im fiberglassing in the way that I feel it needs to be.
The shoulder bell for this one, if you see the mini one I made, is actually enclosed and has a bottom portion that maintains it's curve and shape
_________________
|
|
| Back to top |
|
|
DarthVader1
Expert
Joined: 04 Nov 2007
Posts: 193
Location: Phenix City, AL
|
| Posted: Sat Sep 06, 2008 3:37 pm Post subject: |
|
|
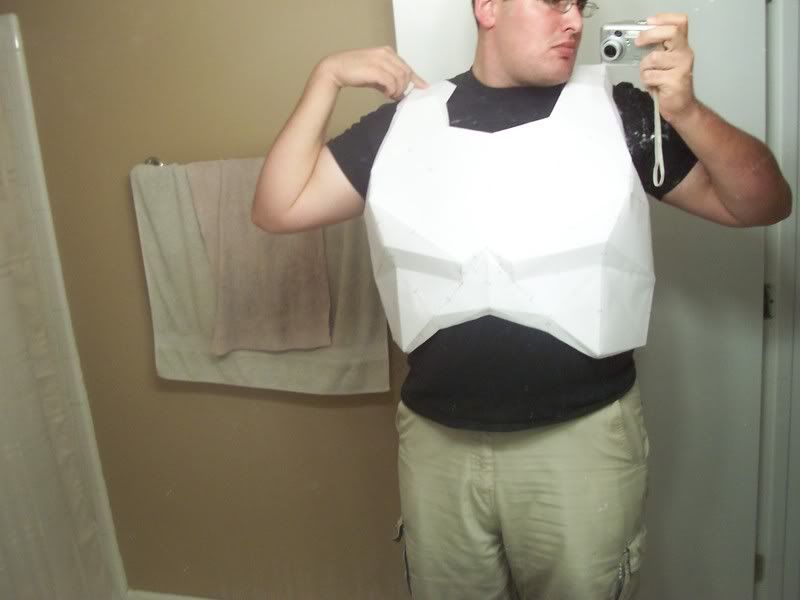
I like the last pic of the chest armor on you, since fits better, more comfortable, and besides, that costume it's supposed to look HUGE or HEAVY SET, compared to the regular TK armor.
Good job so far, I like it.
_________________
Robert
BH/TK/TB/TS 060
|
|
| Back to top |
|
|
tubachris85x
Master
Joined: 15 Jan 2007
Posts: 351
Location: Ft. Lauderdale, Florida
|
| Posted: Mon Sep 15, 2008 11:20 pm Post subject: |
|
|
Back plae/piece/armor/thingy is done. Matches the height with the chest, so its all proportioned evenly. I think it came out pretty well for what it is as of right now. Here are some pics:
The armor is supposed to lay just like the TK chest/back is, where it is seperate, where as a clone is connected at the sides. In this pic, is was hard to get a decent shot on my own, so thats why it looks 'off.'
One thing that Ive been doing lately has been volunteering at the FSU Master Craftsman studio-they do all the primary artwork you see around the campus, as well as America's 3rd largest stain glass window on Doak Campbell stadium. Well, Ive been talking to a few of the guys that work there about molding this, and they've been telling me that there are ALOT of various ways to mold something like this, for alot cheaper then the methods that I have been *Thinking* of using.
Ive been throwing around the idea of using plaster, so I can at least get a good cast for myself at this point, but I'll be talking further with them hopefully. So thats what's going on. LOL learned how to put on a mother mold today over a bust, but they used this polyurethane gel like material that burned like napalm if you got it on your skin.
-TC
_________________
|
|
| Back to top |
|
|
|
|
You cannot post new topics in this forum
You cannot reply to topics in this forum
You cannot edit your posts in this forum
You cannot delete your posts in this forum
You cannot vote in polls in this forum
|
Powered by phpBB © 2001, 2005 phpBB Group
|

