 |
www.TK560.com
Vacuum Forming, Movie Prop, Sci-fi and GIjOE Forum
|

|


|
| View previous topic :: View next topic |
| Author |
Message |
TK 109
Guru

Joined: 11 May 2007
Posts: 712
Location: Galena, Ohio
|
 Posted: Sat Dec 27, 2008 6:44 pm Post subject: Sculpting My Own Stormtrooper Helmet Posted: Sat Dec 27, 2008 6:44 pm Post subject: Sculpting My Own Stormtrooper Helmet |
 |
|
Well....
I did the easy parts already, the ears, the back, and the dome, and vacuformed the pieces. What i plan on doing then with the styrene shell is to backfill it with plaster (something tougher than dried clay), and sanding, filling, and doing the final touches for a final form.
SO...
Now, I'm doing the faceplate....
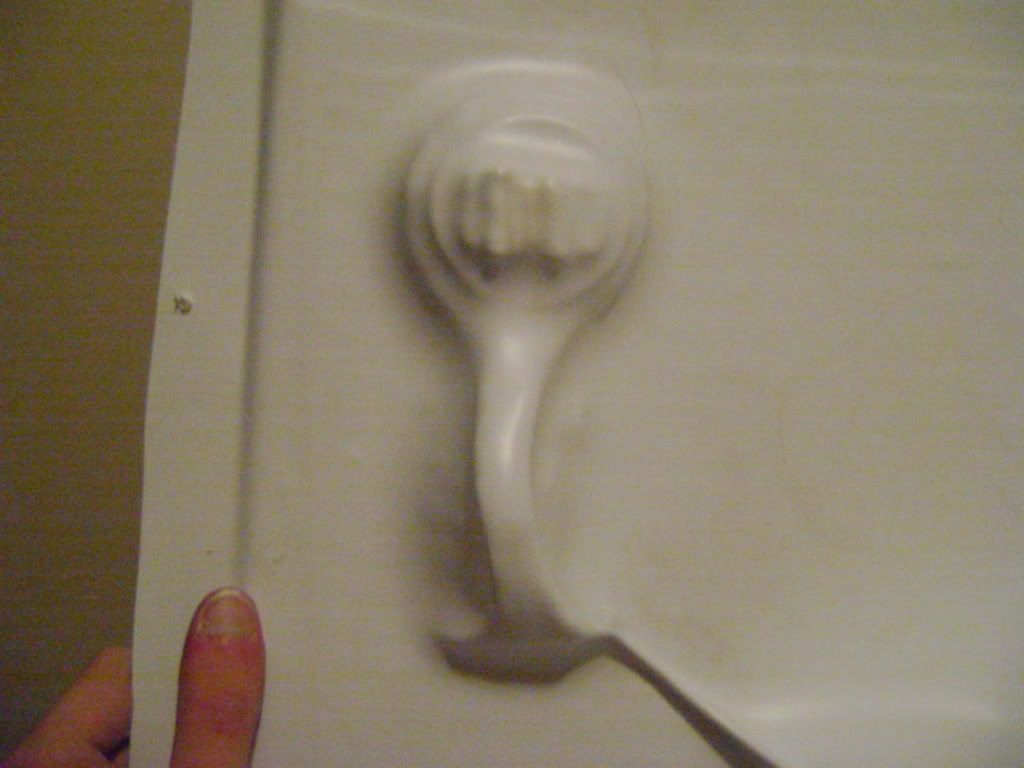
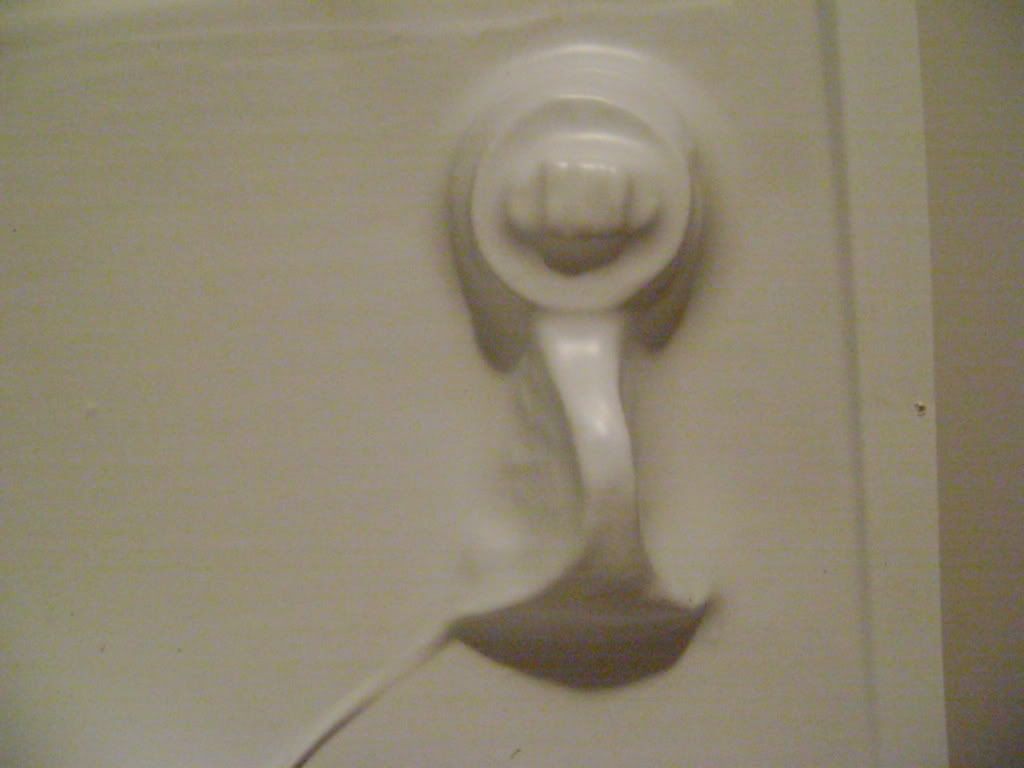
I think I'm doing ok for a rough form. I've got 5 teeth, and the little detail in the teardrop (which is a little pill-shaped feature inside the little teardrop, something discussed elsewhere in the boards). As of right now, I know i have to:
1. REDO the teardrop. the bottom needs to be parallel!
2. Look at the teeth a little closer. i think i need to adjust the spacing.
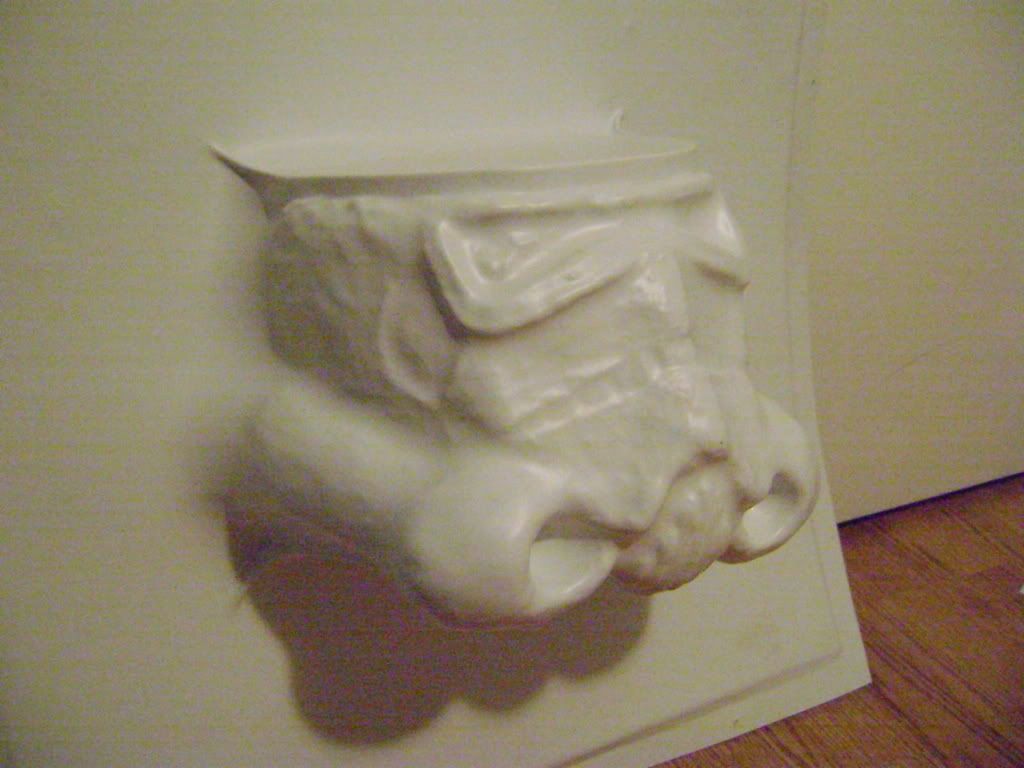
So, here's the faceplate:
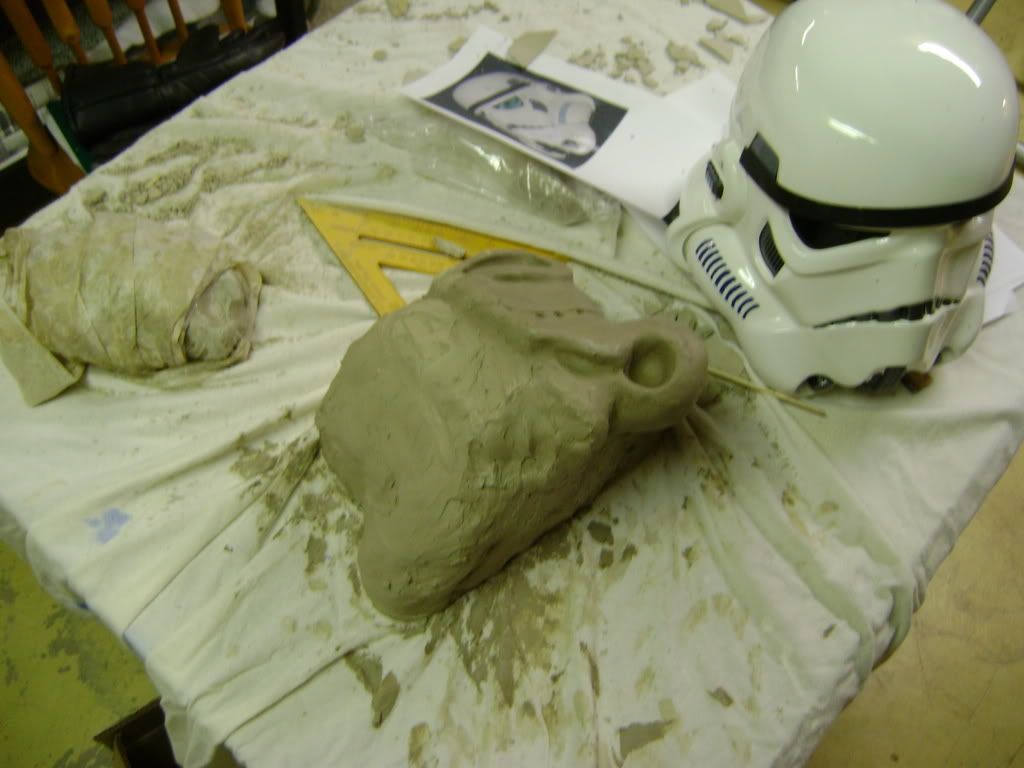
using my AP helmet as a guide, and some pics from the internet, i managed to get this much done!
still needs some work, but here it is!
Enjoy! 
_________________
-Alex
-------------------------------------------------------
 |
|
| Back to top |
|
 |
CJanssen
Expert

Joined: 17 Feb 2007
Posts: 215
Location: Beaverton OR
|
| Posted: Sun Dec 28, 2008 11:39 am Post subject: |
|
|
Nice looking sculpt ! I keep telling myself that I need to do the same thing, but I just keep ignoring myself 
_________________
"What, you think your some kind of Jedi?" |
|
| Back to top |
|
|
Stomper
Master
Joined: 01 Oct 2005
Posts: 473
Location: Woodburn, Oregon USA
|
| Posted: Sun Dec 28, 2008 2:46 pm Post subject: |
|
|
hey, Hey, HEY!!! That's a mighty FINE first rough-in!!!
As for the "artifact" in the tear-drop... Dan Laws did the same thing on his UBER-SHARP mold... but personally, I prefer the "idealized" versions myself.
Again, mighty-fine first start!!
_________________
Tony Krewson
FEAR... is not my god!! |
|
| Back to top |
|
|
TK 109
Guru
Joined: 11 May 2007
Posts: 712
Location: Galena, Ohio
|
| Posted: Sun Dec 28, 2008 3:24 pm Post subject: |
|
|
yeah the laws bucket is rather sharp!
i'm looking for the idealized look here.
Thanks for the kind words!
_________________
-Alex
-------------------------------------------------------
|
|
| Back to top |
|
|
jegner
Site Admin

Joined: 30 May 2003
Posts: 2144
Location: Texas, USA
|
| Posted: Sun Dec 28, 2008 5:17 pm Post subject: |
|
|
+1 for a very well done first pass at the helmet sculpt. Are you using KleenKlay? I suppose you are going for a female mold for the faceplate?
Please keep us posted on your progress!
Jim |
|
| Back to top |
|
|
TK 109
Guru
Joined: 11 May 2007
Posts: 712
Location: Galena, Ohio
|
| Posted: Sun Dec 28, 2008 6:08 pm Post subject: |
|
|
thanks jim!
i have been tossing the idea around for a female mold, but i'm thinking it might be too difficult and time-consuming to be effective. it's still out there, though.
the idea is to form to the rough clay bits, and backfill this shell with plaster or a hydro-cal material, and work out the remaining details to make a final form.
_________________
-Alex
-------------------------------------------------------
|
|
| Back to top |
|
|
jegner
Site Admin
Joined: 30 May 2003
Posts: 2144
Location: Texas, USA
|
| Posted: Mon Dec 29, 2008 7:25 am Post subject: |
|
|
That sounds like a good idea. The clay can be tricky to get perfectly smooth, and working with a harder medium for the final coat is a great idea.
Keep us posted!
Jim |
|
| Back to top |
|
|
TK 109
Guru
Joined: 11 May 2007
Posts: 712
Location: Galena, Ohio
|
| Posted: Mon Dec 29, 2008 7:31 pm Post subject: |
|
|
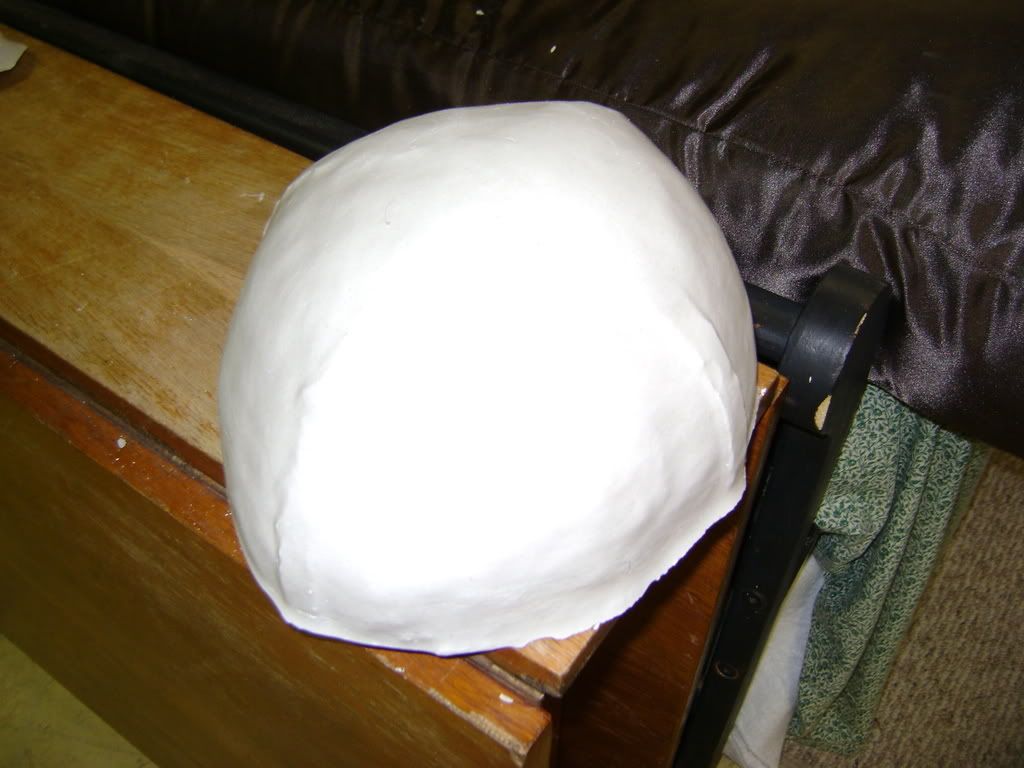
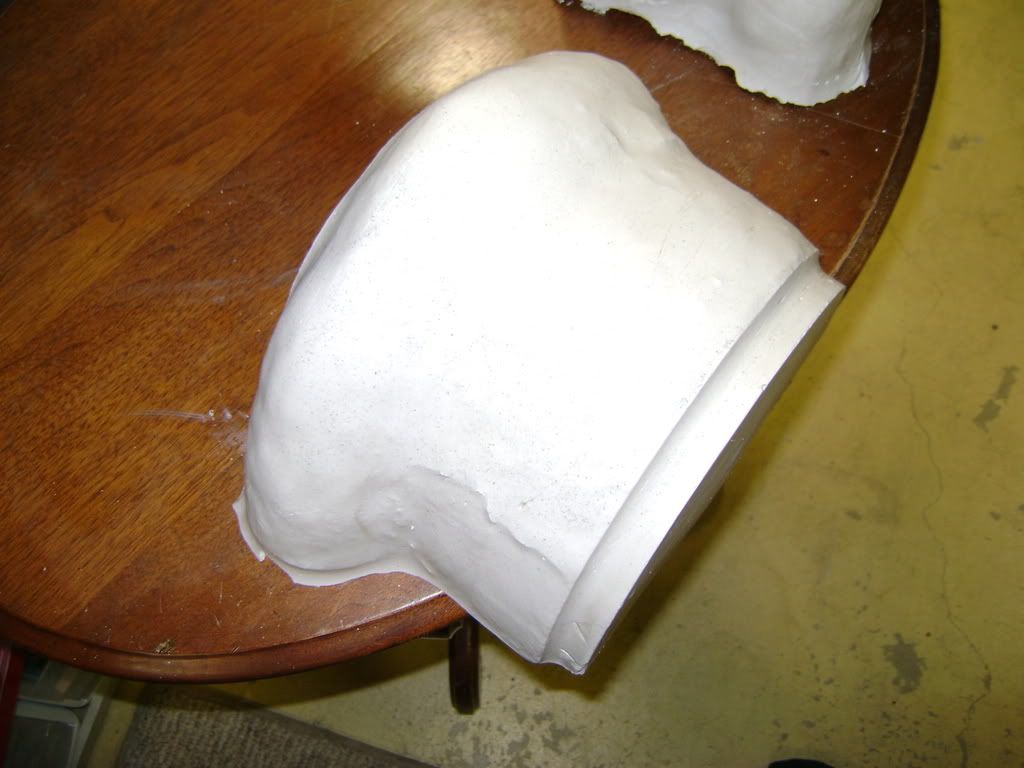
Here's how everything looks now that it's vacuformed:
Back and two ears. The Back was fairly straightforward, and the ears took no time at all...
Close up of the ears. They didn't turn out too bad, they will be fine!
Veiw of the Back. Rough, but no biggy. 
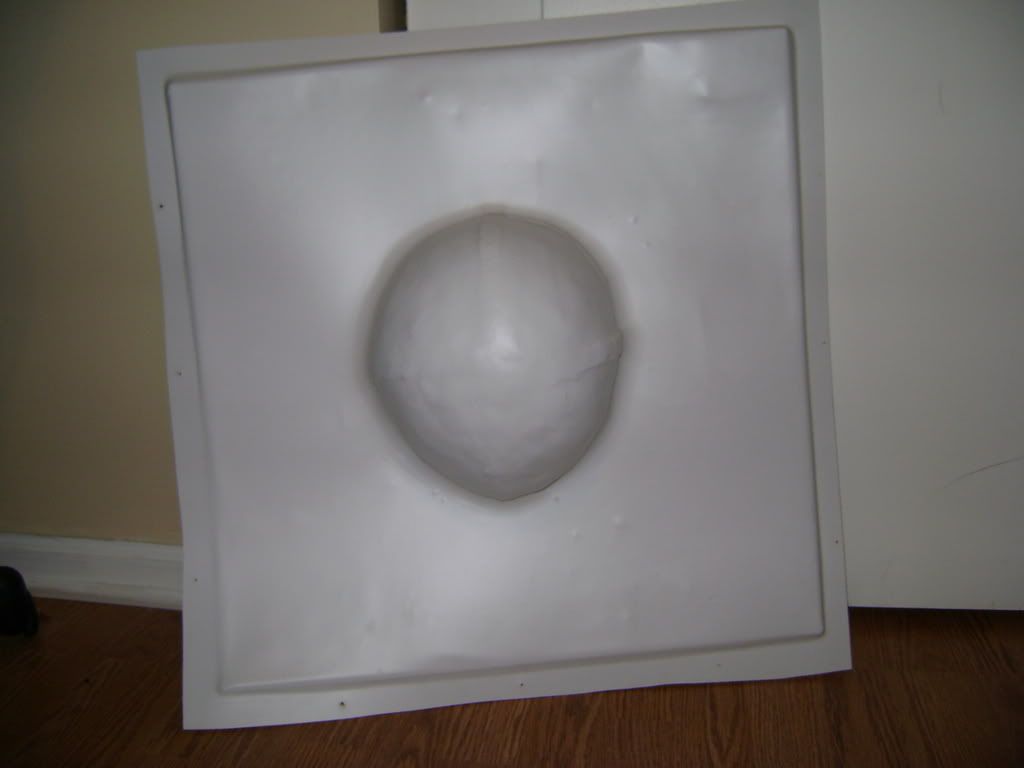
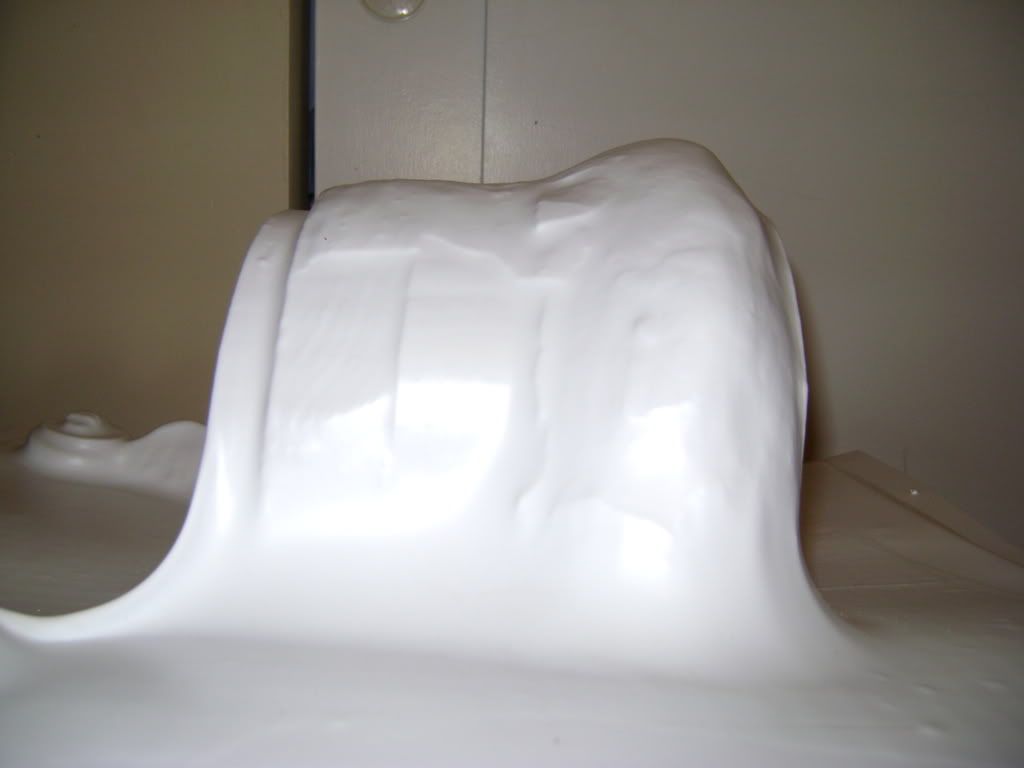
Here's the cap. Also, VERY easy, just built a wood core, and built clay around it. something like paul's idea with the cap (blaxmyth)
AND........
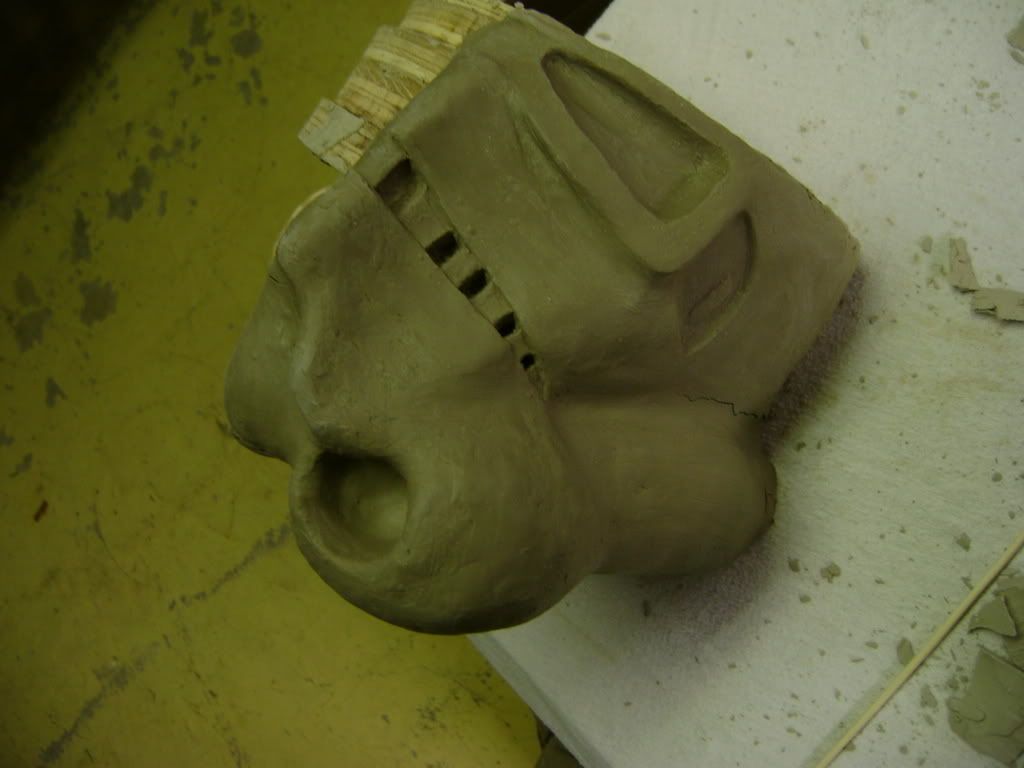
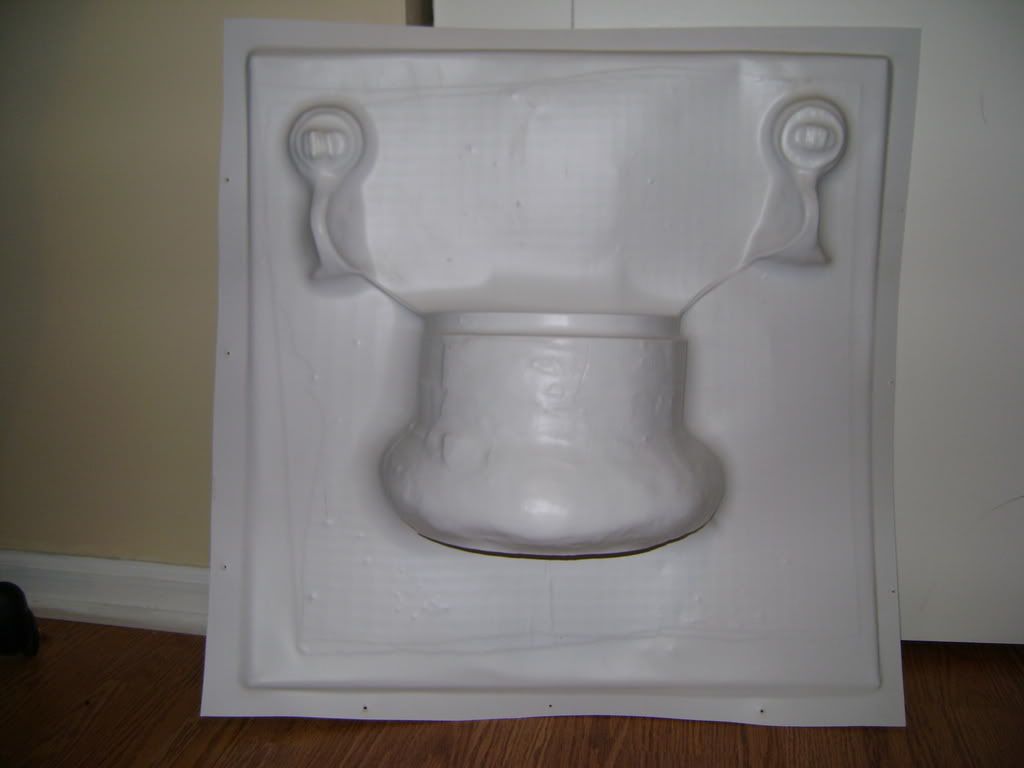
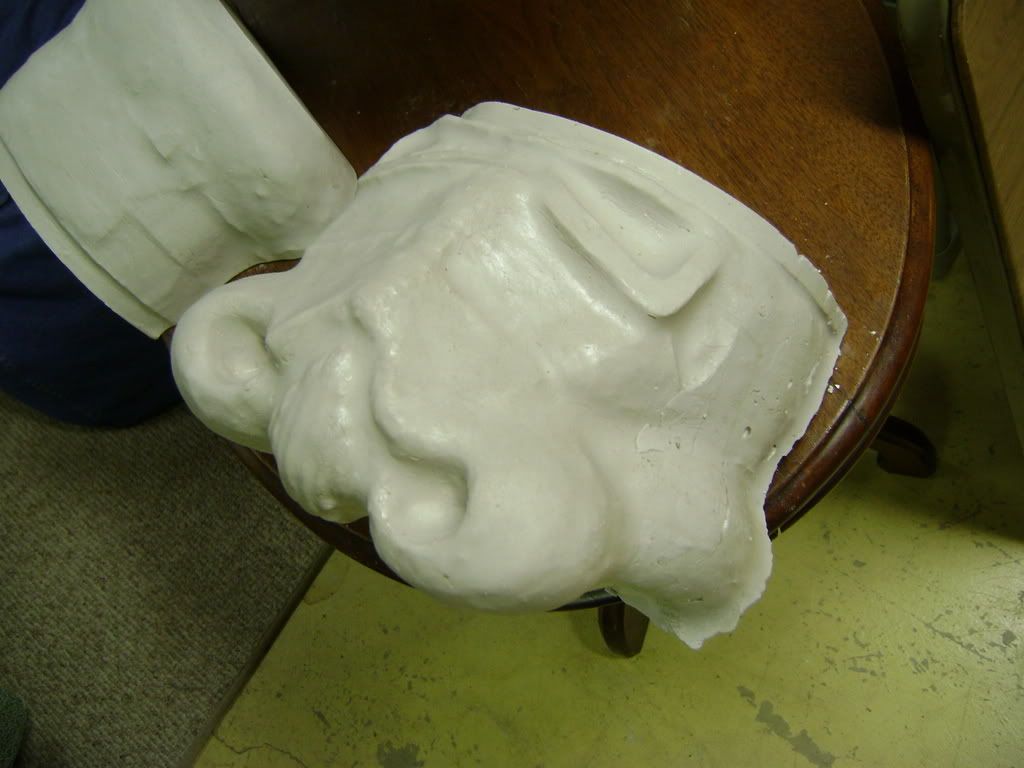
The Face:
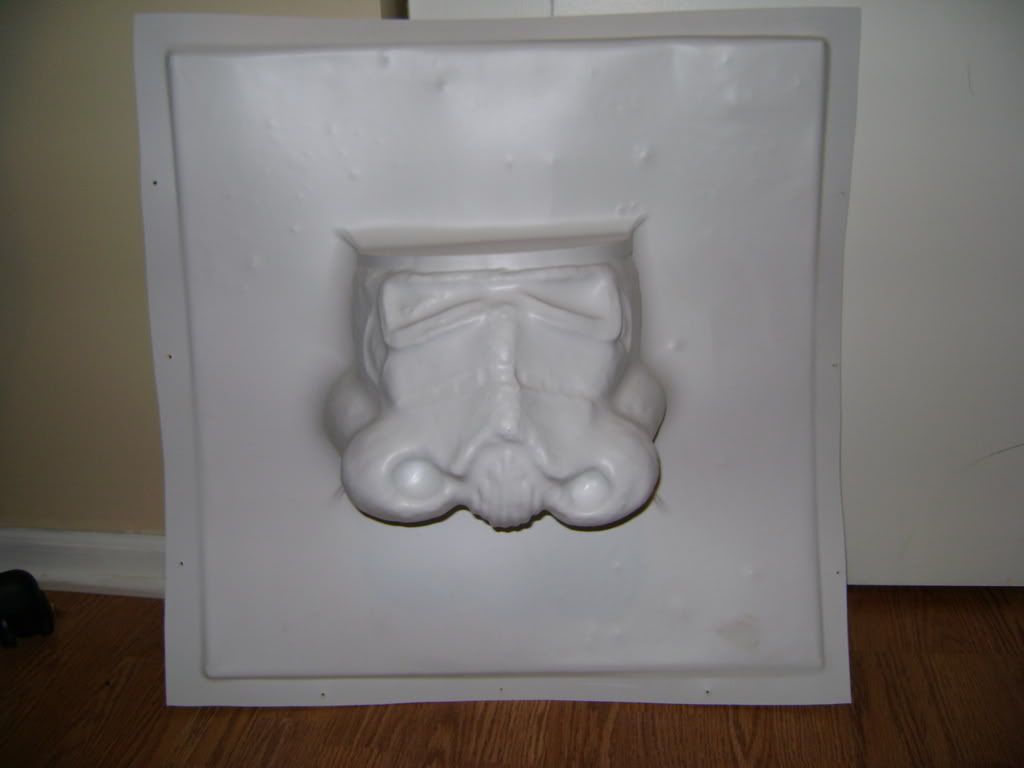
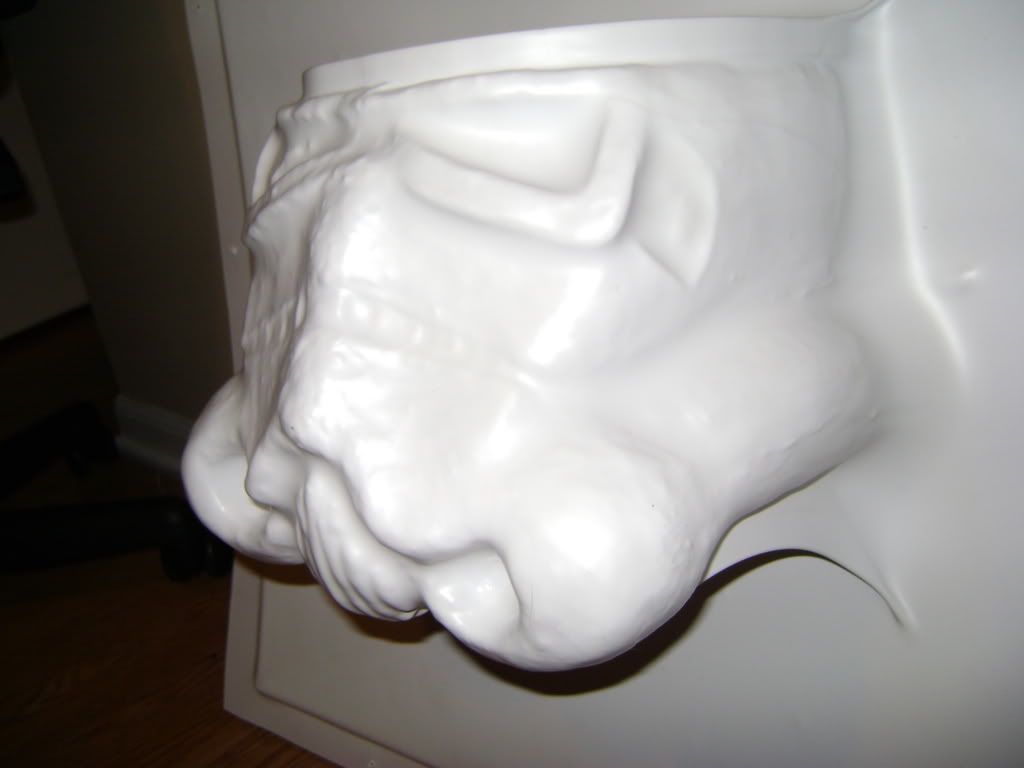
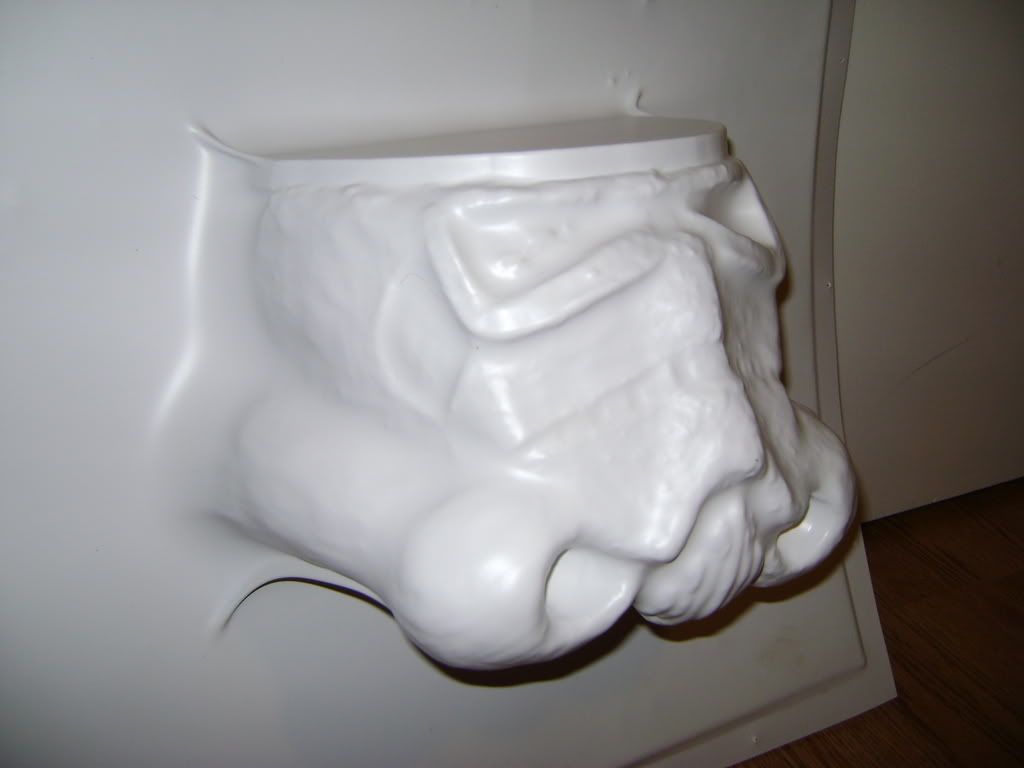
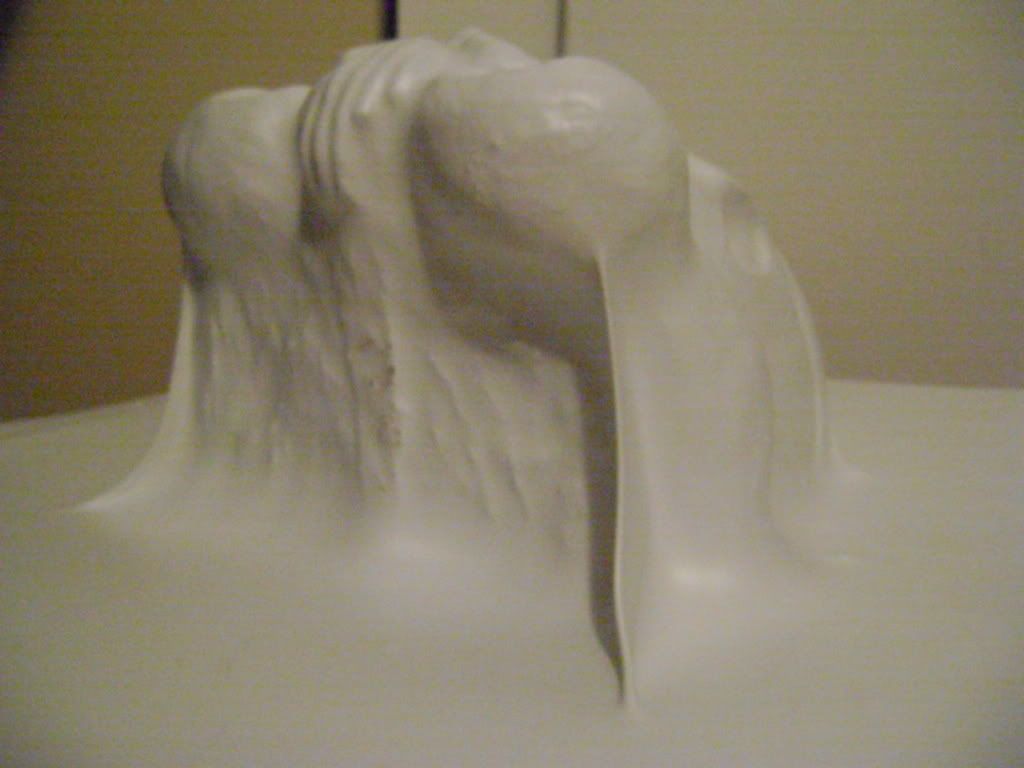
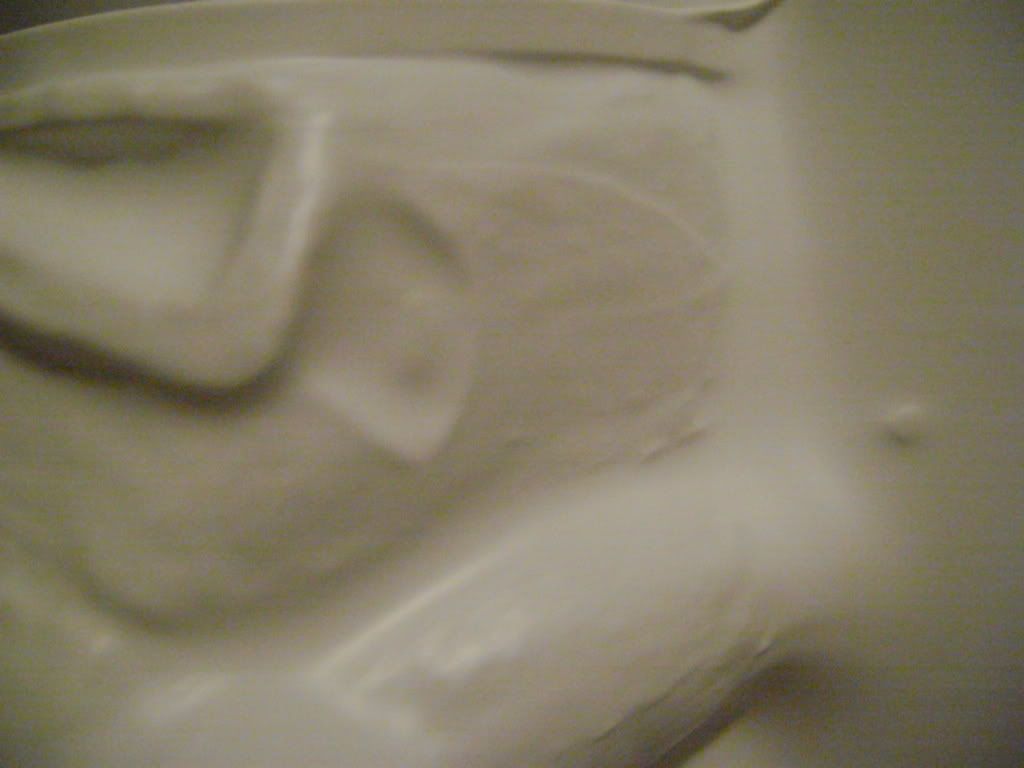
HOW i got the face out is a good question, I don't even know how! 
the teardrops are different, but i can touch that up... and the the overall finish is something like oatmeal, but its a nice rough draft!
now to get some plaster. 
Enjoy, let me know what you think!
_________________
-Alex
-------------------------------------------------------
|
|
| Back to top |
|
|
TK 109
Guru
Joined: 11 May 2007
Posts: 712
Location: Galena, Ohio
|
| Posted: Sat Jan 03, 2009 9:41 pm Post subject: |
|
|
hey, got the parts in plaster now:
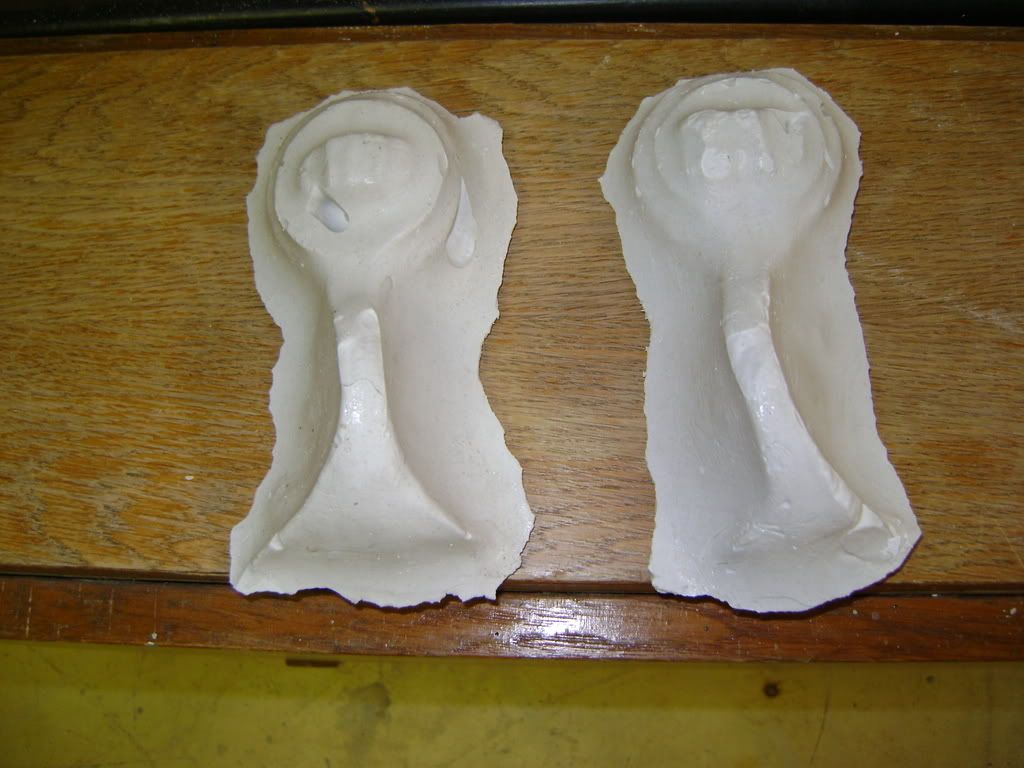
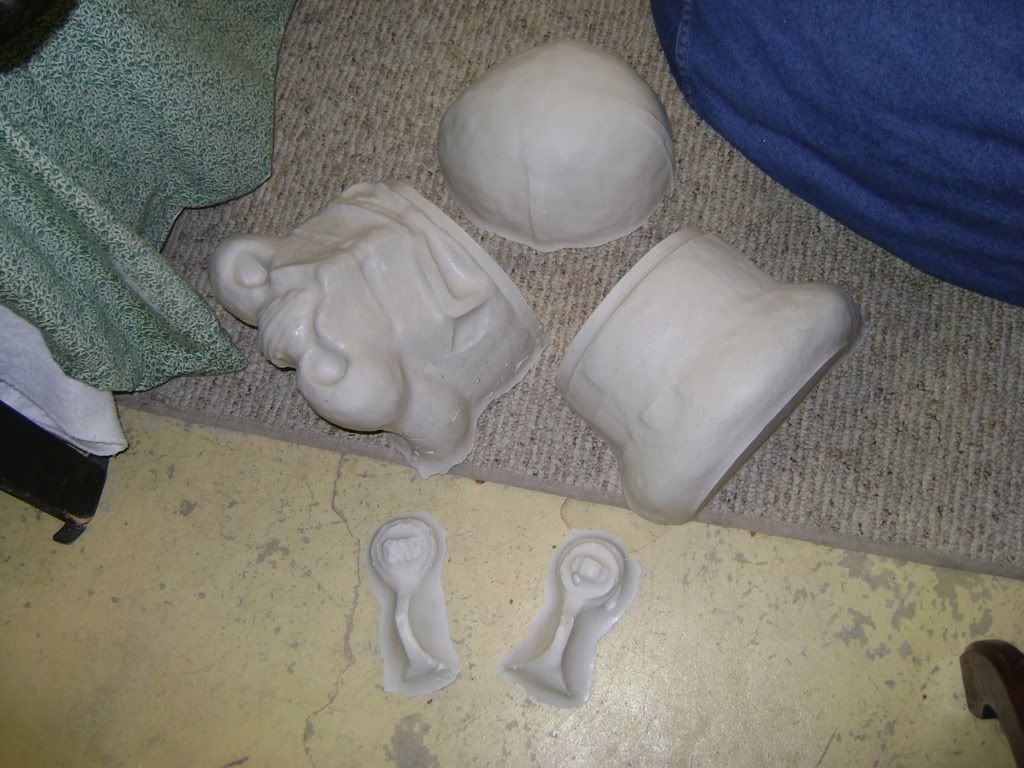
hot, greasy, and smooth. this is my first plaster casting experience!!
the ears are gonna be tough to bring back, but it can be done.
the face is going to be pretty tough as well to get all the details back, and make it better again.
the back and dome will be VERY easy...
well, with that said, anybody have any suggestions on how the trooper faceplate should look? 
enjoy!
_________________
-Alex
-------------------------------------------------------
|
|
| Back to top |
|
|
DarthVader1
Expert

Joined: 04 Nov 2007
Posts: 193
Location: Phenix City, AL
|
| Posted: Sat Mar 14, 2009 11:25 pm Post subject: |
|
|
Very nice going! I can't wait to see the result of the re-shaping of the plaster casts. As you're a fan of my work, I'm SO a fan of your AMAZING work.
BTW, if I may give you a suggestion....try to add more flare to the forehead area, probably like an inch or inch and a half, that way it has something to grab when it's assembled with the dome piece, which you could trim after that as necessary, and give an option of assembling either the LUKE (HERO) version, or the more traditional (STUNT) version, which only difference is the distance from the "eyebrow" to the top of the eyes.
Also, give more outward filling to the area where the neck should be and the top of the head after the "flare" of the forehead on the faceplate, it could be easier to take out of the mold in a way, just to prevent the webbing or "wrinkling" of the plastic in the corners, which is my goal.
If anyone understands and knows of what I've just said or trying to say, please feel free to comment. No offense taken here, just for educational purposes to each other.
Just my 2 cents.
_________________
Robert
BH/TK/TB/TS 060
 |
|
| Back to top |
|
|
TK 109
Guru
Joined: 11 May 2007
Posts: 712
Location: Galena, Ohio
|
| Posted: Sun Mar 15, 2009 7:41 pm Post subject: |
|
|
Thanks, DarthVader1. I was planning on adding those bits to the tops and bottoms of the molds, and I'm going to need to add a TON of plaster/bondo to these parts. Ive already REdone one of the ears because the ear detailing was unsalvagable... LOL. But in the end, I hope it'll look nice. I know that the dome, back and ears are the easier parts... It's just the faceplate. Right now, I have a VERY VERY rough idea in plaster... just ready to be... massacred over and over with bondo, plaster, glue, wood, saws, chisels, and sandpaper... LOL. The face is going to be a challange...
I'll have to post pics when I get the chance.... 
_________________
-Alex
-------------------------------------------------------
|
|
| Back to top |
|
|
GoldCylon
Newbie

Joined: 04 Jan 2006
Posts: 18
Location: Sacramento
|
| Posted: Tue Aug 18, 2009 9:48 am Post subject: |
|
|
Is there something about this Trooper that lacks sharp detail for a reason? Sorry I don't recall seeing a Trooper like this before.
_________________
http://ByYourCommand.net |
|
| Back to top |
|
|
TK 109
Guru
Joined: 11 May 2007
Posts: 712
Location: Galena, Ohio
|
| Posted: Tue Aug 18, 2009 12:20 pm Post subject: |
|
|
This is just a rough cast. I'm working as we speak to sharpen and refine details. I'm down to the face, now. I should really post pics of this, this is kinda old and needs updating... 
_________________
-Alex
-------------------------------------------------------
|
|
| Back to top |
|
|
GoldCylon
Newbie
Joined: 04 Jan 2006
Posts: 18
Location: Sacramento
|
| Posted: Tue Aug 18, 2009 12:41 pm Post subject: |
|
|
OK so you sand down the plaster and smooth it out that way?
_________________
http://ByYourCommand.net |
|
| Back to top |
|
|
DarthVader1
Expert
Joined: 04 Nov 2007
Posts: 193
Location: Phenix City, AL
|
| Posted: Tue Aug 18, 2009 7:55 pm Post subject: |
|
|
Before anything, and just to clarify about the plaster....I use HYDRO-STONE...better than any other plaster out there.
This is a really complicated process, which probably you have to make multiple molds/casts in order to do a very accurate and convincing helmet.
As I've read in another forum (TDH perhaps???) stating that the most important thing in a costume when you're wearing a mask/helmet....is definitely THE HELMET. Once people see the face (which has to be as accurate as possible), they will look up and down, but if you don't have a "recognizable face", regardless of how good or bad the rest is looking like, people will criticize about it either in a good way or bad way.
For my ROBOTO project, I WILL have to go to that process since it's not 100% accurate yet; reshaping the molds according to previous results, and sanding/sealing imperfections before vacuuforming. He's just doing a TEST with what he has so far done with the helmet sculpt....OBVIOUSLY he won't be making a helmet out of something so rough in shape.
Now, TK-109.....are you doing the vacuuforming in ABS or HIPS? Just curious.
BTW, nice going, since I'm planning in making ANH armor molds soon as soon as I finish my ROBOTO project (for me to make a SANDTROOPER in the near future).
_________________
Robert
BH/TK/TB/TS 060
|
|
| Back to top |
|
|
|
|
You cannot post new topics in this forum
You cannot reply to topics in this forum
You cannot edit your posts in this forum
You cannot delete your posts in this forum
You cannot vote in polls in this forum
|
Powered by phpBB © 2001, 2005 phpBB Group
|

