Tk560.com : Replica props, GIjOE, WWII gear

CONTENTS:
TK560 Main

Star Trek TOS Props

Communicators
Phasers
Tricorders

Star Wars EP IV-VI Props

Helmets
Blasters
Stormtrooper Armor
Rebel Fleet Trooper
Lightsabers
Astro-Mech Droids
How-to Guides
Vacuform Table

Misc. Sci-Fi Props

Cylon Centurion
Viper Pilot Helmet
M41-a Pulse Rifle
Motion Tracker
B5 PPG
Prop Photo Gallery

1964-1976 GIjOE Figures

Retro Box Designs
Repair/Restoration
Replica Parts
40th Anniversary

World War II Militaria

Replica Weapons/Gear
Reenactment Units
ME262 Project

Civilian Marksmanship Program

M1 Garand Rifle
M1903 Springfield Rifle
M1 Carbine

Other Stuff

Discussion Board
Lauren Photo Albums
David's Photo Album
Egner II Design
Fan Film Project
The Mac Plus Project
Catalog Page

Please note, that the images, logos, and respected artworks, are property of the original copyright owners. TK560 has no affiliation with any of the intellectual property owners. This is a fan site dealing with movie and television replica props, original GIjOE action figures, World War II memorabilia, and marksmanship/ firearms interests. Most of the images used on this site are photographed by the site owners. Official logos are used to identify specific products/ manufacturers.

Luke Warmwater's DH17 'Rebel Fleet Soldier's' Blaster

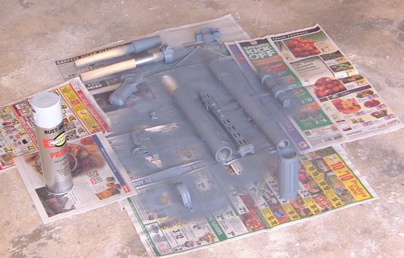
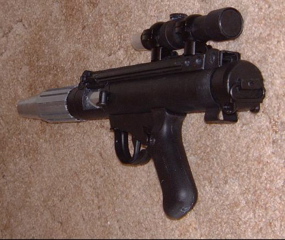
Here is a break-a-part view of the blaster prior to painting.

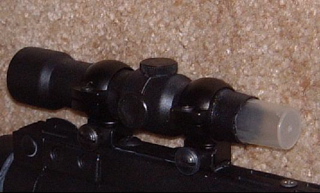
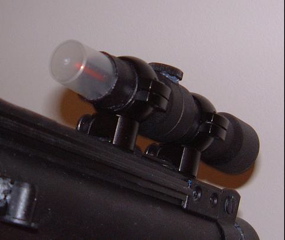
Here is the break-a-part view of the scope


This is how you cut the reducers to make the scope.


The scope after assembly

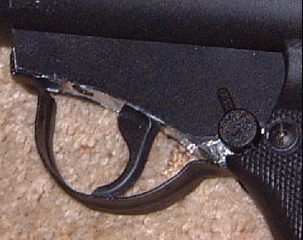
The parts for the trigger and the nozzle.

Sub assembly

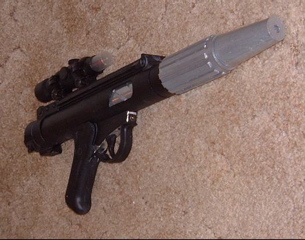
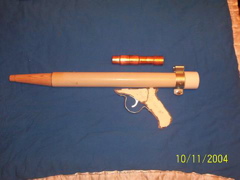
The blaster still under construciton.

Final assembly prior to painting.


The primer process.


Almost finished!


Another view.


Here are the scope knobs


And a detail of the trigger group with selector switch.


Final Version business end.


Final version back view


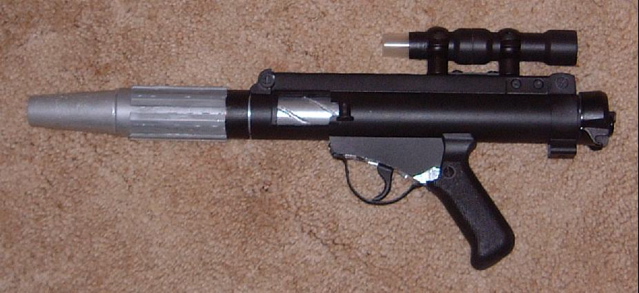
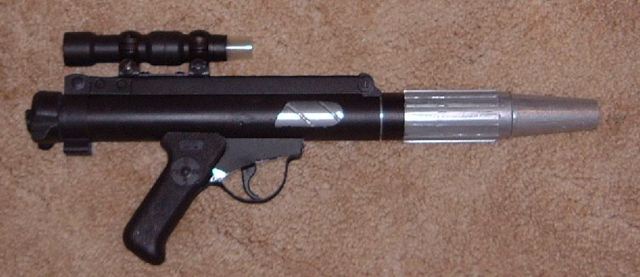
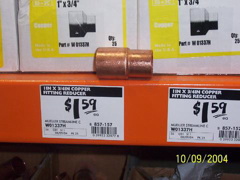
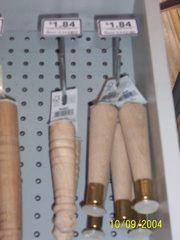
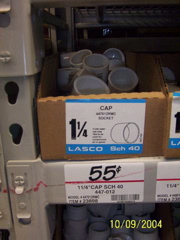
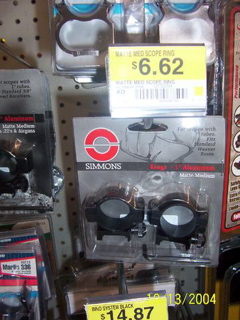
This is Luke Warmwater's version of the Rebel Fleet Soldier's DH17 Blaster. Based on the Sterling L2A3 machine gun with lots of modifications to the barrel and magazine, this blaster is first seen in the opening sequences of Star Wars.This tutorial includes the basic instruction for constructing your own version from common hardware store parts, including the "aimpoint scope". Some of the parts like the endcap and pistol grip are resin castings from a real gun, but these parts are easily made from plywood, and PVC endcaps. Use your creativity and make your own version! Its easy, and here's how.

Here is the breakdown: Blaster body fabricaton

Parts:
1. 15.5 inch length of 1.25 inch diameter PVC pipe for barrel
2. 15.5 inch length of 1 inch pvc pipe for bolt
3. two 10 inch lengths of 1 inch wooden dowel
4. Resin Sterling endcap and grips [available here]
5. Scrap 3/8" plywood
6. 10 inch length of U channel for top rib

7. 1.25" conduit clamp for the trigger guard,
8. 6" furniture leg for the nozzle.

Procedure:
1. Drill a 1 inch diameter, .5 inch deep hole in the endcap and placed in on one of the dowels. I used a screw to attach the cap onto the dowel (instead of gluing, so I could disassemble if required), along the long axis of the dowel.
2. Mark the centerline of the tube by using the bottom of the endcap. Mark locations for the grip, trigger assembly and ejection port (right side) and magazine well (left side). I used the MR pictures for reference. Cut out the mag well and port using the tool of your choice. [coping sawe, dremel, rototool, etc. and file to get the right contours]
3. Place the dowel into the small pvc pipe, then that into the large pvc pipe. Drill a pilot hole down into the dowel where the bolt pullback would be on a real Sterling. Insert a screw into the hole to hold the tubes together while you work.
4. Cut the shape of the trigger group using the tutorial at the PVC Blaster Builder's Club. http://www.imperial-fleet.com/BBC/ . In fact, you can scratch build the whole grip if you want to. Drill pilot holes through the center of the plywood laminate into the PVC tube and use long screws to attach the group to the tube.
5. Drill and attach the U channel to the top of the barrel, one end flush to the endcap.

Here is the breakdown for the Scope fabrication

Parts:
1.3 1 to 3/4" Copper Pipe Reducers
2. 3/4 inch wooden dowel
3. Hair Spray clear cap
4. Scope Mounts

Made the scope out of copper plumbing parts with a 3/4 inch wooden dowel inside to hold it together. The clear tip is a cap from a chick-grooming product. The scope mounts are from Bass Pro. The two red caps I found. I cut one of them to make the ring in the front. This ring holds the clear cap on. I drove a nail into the dowel front which will be the orange sight when painted. The scope rings are standard stuff I found at Bass Pro.

Final thoughts

A conduit mount is the metal piece near the endcap. A brass hook, filed down, is the trigger. I've cut out the mag well and used chrome tape on the inner bolt. I also dremeled the spiral grooves in the bolt. I've also glued plasitc sheeting [garage sale sign] onto the plywood.


Use some artistic liberties with this for your own personal aesthetics. Besides, if it was supposed to be truly accurate, he wouldn't have used PVC.

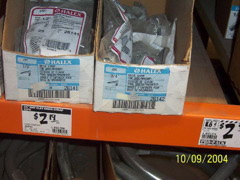
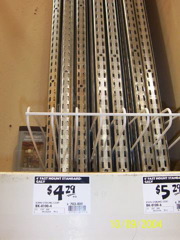
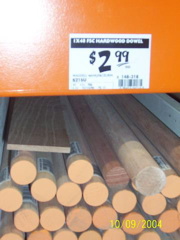
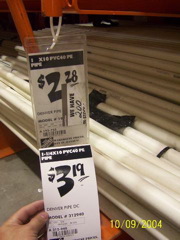
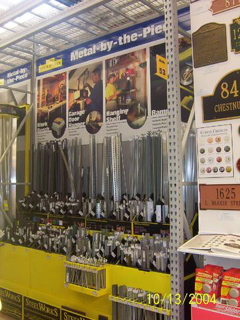
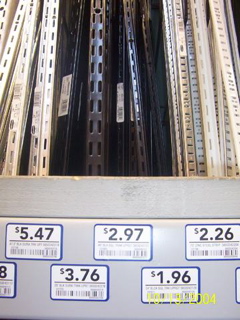
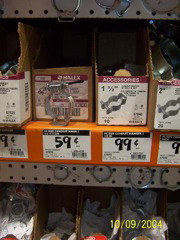
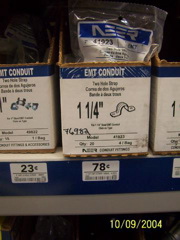
Here is a price list. Obey Wannn's trip to both HD and Lowes. Here goes:


Lowes:
6" Round taper leg: $1.84
1 1/4" end cap: $.55
Package of 4 1 1/4 EMT Straps (trigger guard): $.78
With tax: $3.41


Home Depot:
Package of 25 3/4" flat type drive straps (look like triggers and I bought enough for the FF): $2.96
#4 size CND Hangar (End piece at rear of blaster): $$.99
7/8" x 48" Dowel: $2.57
1" x 48" Dowel: $2.99
3 1 to 3/4" Copper Pipe Reducers: 3@ 1.59 = $4.77
1"x10' PVC: $2.28
1 1/4" PVC: $3.19
Mitre Box with saw: $15.49
HD total with mitre box: $38.01
Without: $22.52 Total so far: $25.93

I got the resin grips and endcap [available here] $10-20 plus shipping.
I think I have somewhere between 40 and 50 bucks in this thing.


Painting tips:

For painting I used a rustoleum textured paint in black for the main body and a mettalic silver paint for the nozzle. The silver paint was problematic, while looking like metal it is not as silvery as I had hoped. If I had to do it over again I would use a hobby-type silver paint instead of rustoleum.

Weathering:
I'm not planning on doing much weathering, going to let that happen naturally. Editor's note: With a bottle of model painters silver paint, and a brush, worn spots can be painted on plastic using a "dry-brush" technique. Simply dip your paintbrush into the paint, and wipe off most of the paint from the brush using a paper towel. Then accent the edges and corners with this dry brush. The results will suprise you. Also, note that where real metal parts are used, you can simply scratch off the paint in places that would wear if used in the "real world"

Final Thoughts:
I still have to go back to my hobby store and get some plastic t-track for the sides. My hobby store is great-it sells all sorts of metal and plastic shapes and sheets for scratchbuilding anything from RC aircraft to model train-layout buildings.


Also: back where I put the furniture leg onto the front for a nozzle- I cut the projecting part of the forward dowel flush with the tubes and drilled a hole in the center. The furniture leg has a screw on the end and I just screwed it into the hole I drilled, then glued it together.


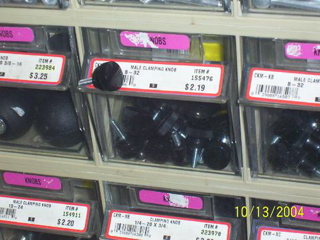
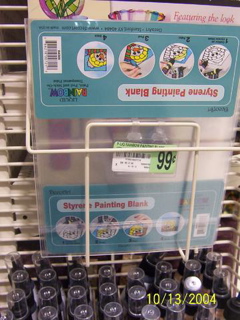
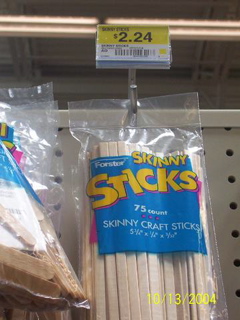
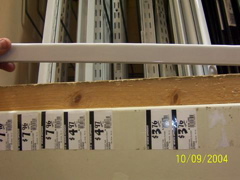
Obey Wann's hardware store images:


Here is a view of the progress done so far with the supplies purchased from the hardware store.

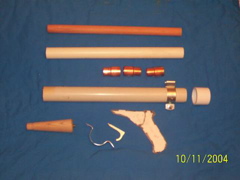
Here is a view of each part.

Be sure to check out the Rebel Fleet Trooper Costume page for additional information.

Here is a link for converting one of the Hasbro Nerf DH-17 Blasters


webmaster | Copyright ©2003 TK560.com All rights reserved.